Footwear testing methods – Part 2
Footwear testing methods [2/2]
22.09.2023 · Expert Michael Wendling / Editor Jakob Hellgren & Luisa-Maria MrcelaIf you missed the first part, make sure to check it out by clicking on the buttom.
→ PART 1/2
Why do I need material testing?
The testing of footwear components and materials is key to test the sufficient functionality of the later shoe even before the shoe is designed, sampled, produced or fit tested. By choosing the right material test, footwear developers and designers save time, money and energy.
Depending on the purpose a material must fulfil on the shoe, the material requirements can be quite different. In the right choice of tests, it plays a major role in whether the component has a design function, whether the part is visible or hidden, whether the part must fulfil a safety-relevant aspect or whether the part must have a certain performance. Each sport or footwear category has its own guidelines, standard tests or benchmarks.
In general, one can say that material tests ensure the design intent, the function, the safety, manufacturability and longevity (and thus also the sustainability) of a shoe.
Navigation
Important definitions in material testing
Material tests done in the footwear industry
1. Color measurement
2. UV test
3. Hydrolysis test
4. Migration test
5. Blooming test
6. Water content analysis
7. Density test
8. Melt volume rate
Material tests done in the footwear industry
Optical tests
These are tests which usually deal with the color of the material e.g how it is affected by different weather. Visual inspections include UV resistance test, grey scale, blooming test, yellow index, translucency, color change after hydrolysis and migration fastness.
Physical tests
Physical properties are helpful when it comes to cost calculations and performance. They allow to determine the value of materials which are needed for tests such as the density test, moisture absorption and water content analysis.
Thermal tests
Physical properties are helpful when it comes to cost calculations and performance. They allow to determine the value of materials which are needed for tests such as the density test, moisture absorption and water content analysis.
1. Color measurement
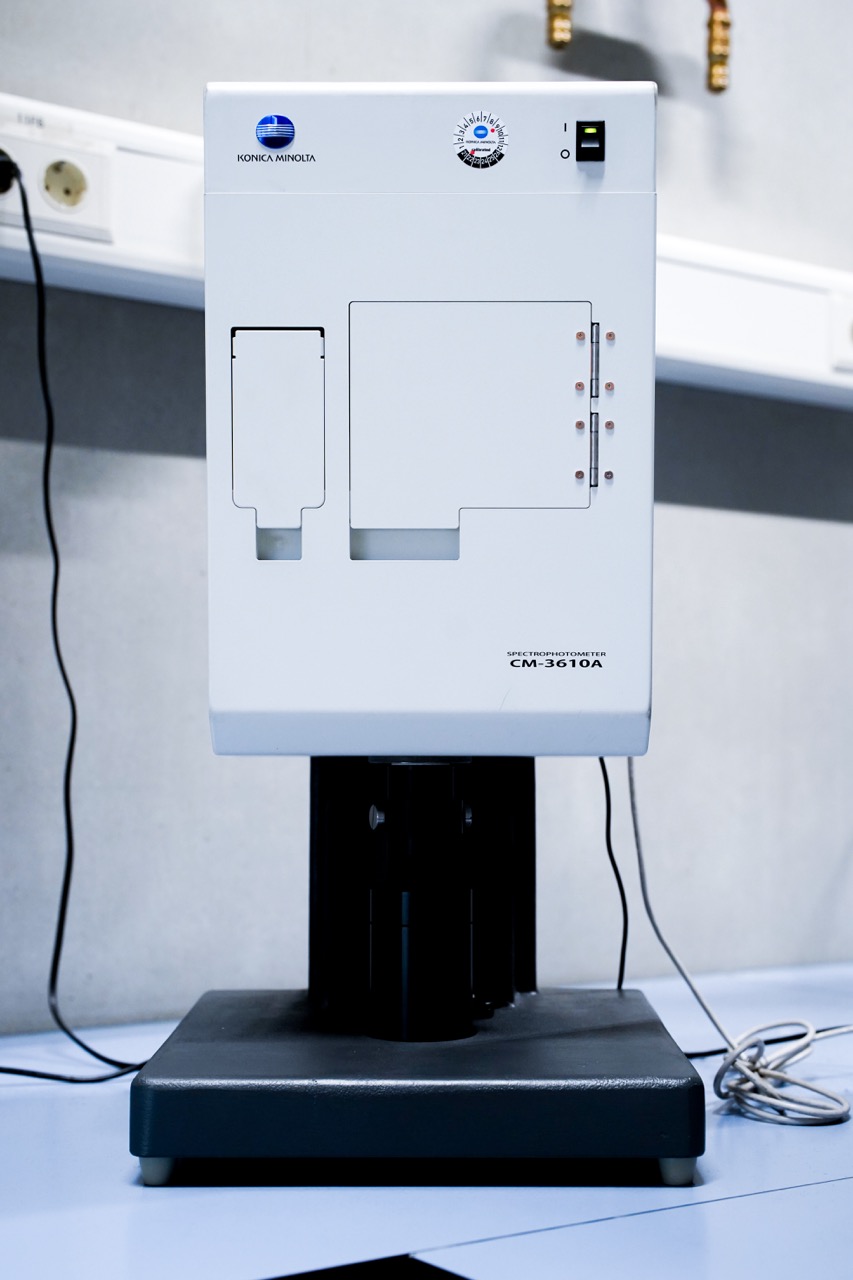
Purpose: To hit the design intent of a footwear sketch and to avoid negative surprises, a color matching test can be an important life insurance during a footwear development phase. The color measurement test is done regularly as it can also be an issue for component manufacturing to match the right color.
Setup and conditions: The machine used is called spectrophotometer. It has a lamp inside which shines onto the color. The reflected color is then compared to data provided by a tech pack and compared to a color spectrum by the computer. Additionally, the component is placed into a color viewing system
What is measured: The machine showing the deviation in Delta E of the component color from the desired color. Delta-E is a unit for the color distance between two colors. The higher the number, the higher the distance between the colors.
Interpretation of test result: The allowed deviation predefined by brand, footwear category and component. The interpretation of the result depends on the subjective assessment of the footwear developers and designer who are involved in the respective project. They decide what Delta-E is acceptable.
Tested materials and components: This test is done for materials which are used at the outer part of a shoe.
2. UV test
Purpose: To see how the external footwear material changes after being exposed to UV rays from sunlight.
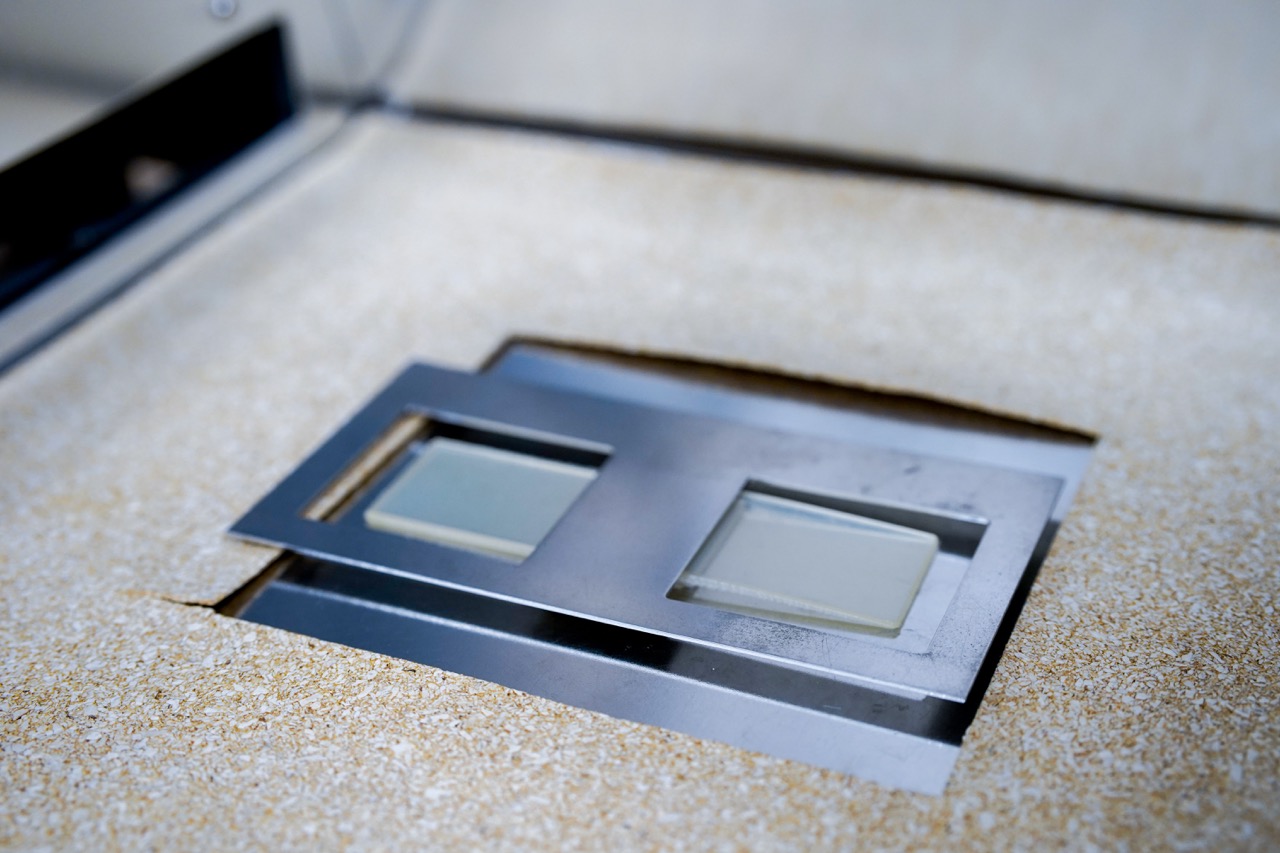
Setup and conditions: The machine is called Sun testing machine. The UV test stimulates around 200 days of sun inside a machine with UV rays. The material is partially covered to see the after and before.
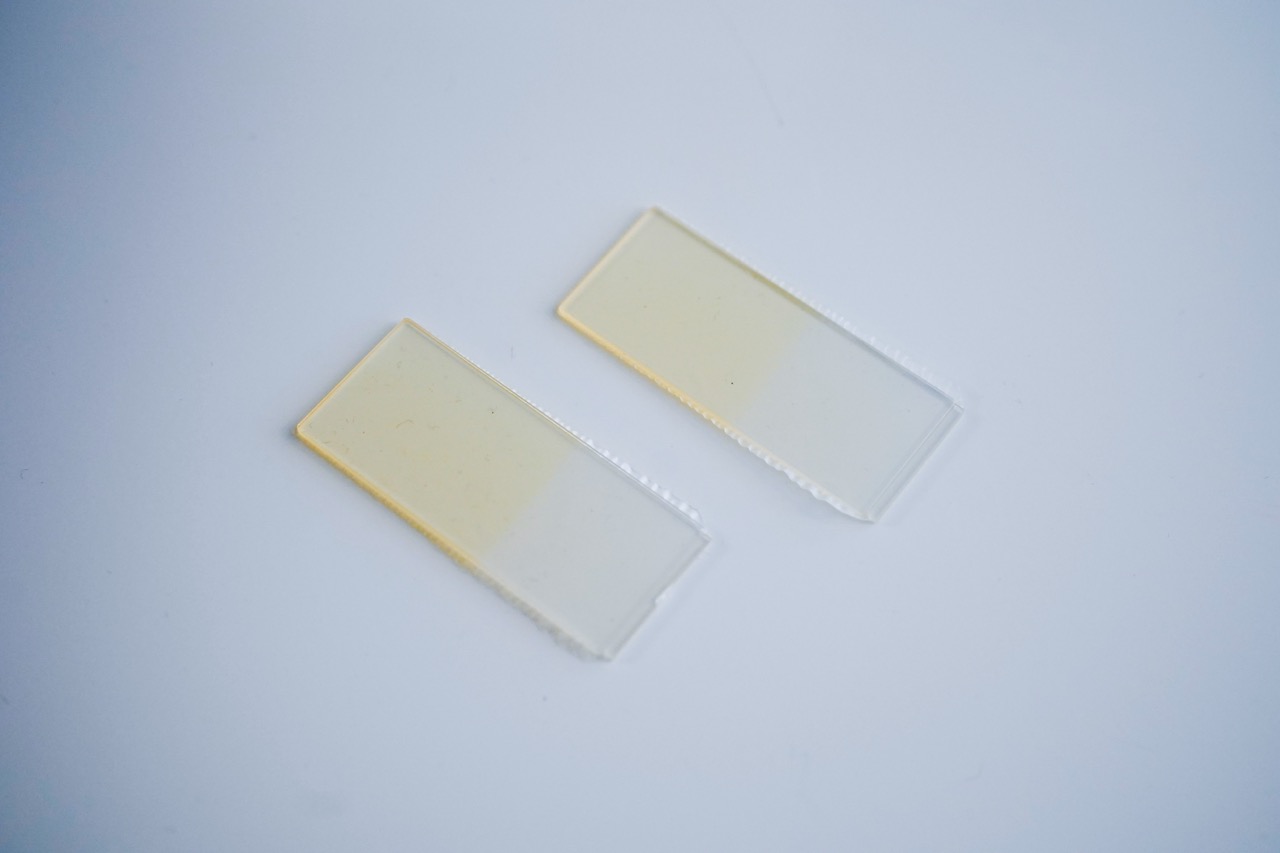
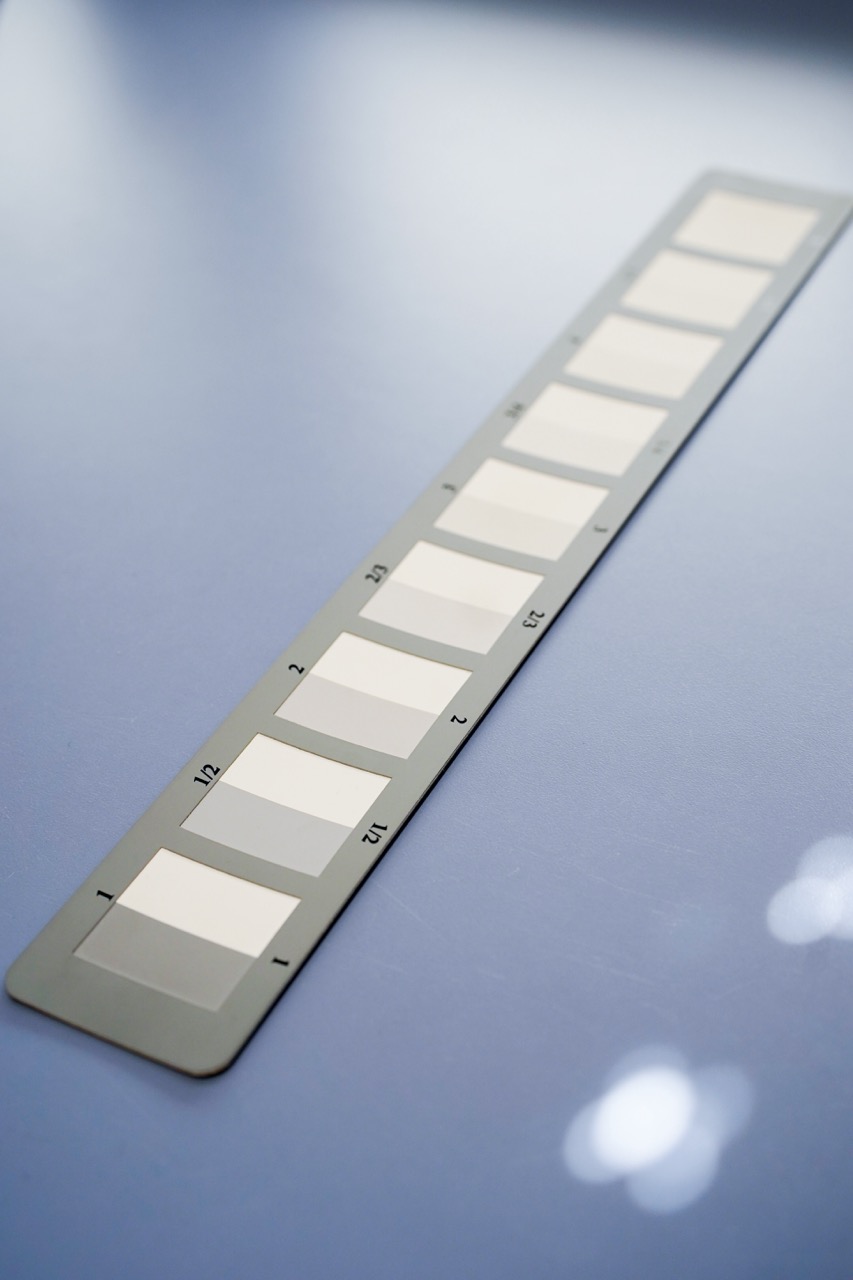
What is measured: The sample is compared to the grey scale after and prior test to determine a grade of discoloration intensity. The grey scale is divided in half and has 5 steps, starting with 5 (no discoloration) and ending with 1 (extreme discoloration).
Interpretation of test result: Generally speaking, the lower the value, the more intense is the discoloration after the test. The final interpretation of the result depends on the subjective assessment of footwear developers and designer involved. They set the acceptable grade of discoloration.
Tested materials and components: All components of footwear that are usually exposed to sunlight.
3. Hydrolysis Test
Purpose: Performance footwear must withstand extreme weather conditions. That could be a lot of rain, humidity, or wet ground. The hydrolysis test simulates those extreme wet conditions exposing a material and determine the change of mechanical and color properties through artificial aging.
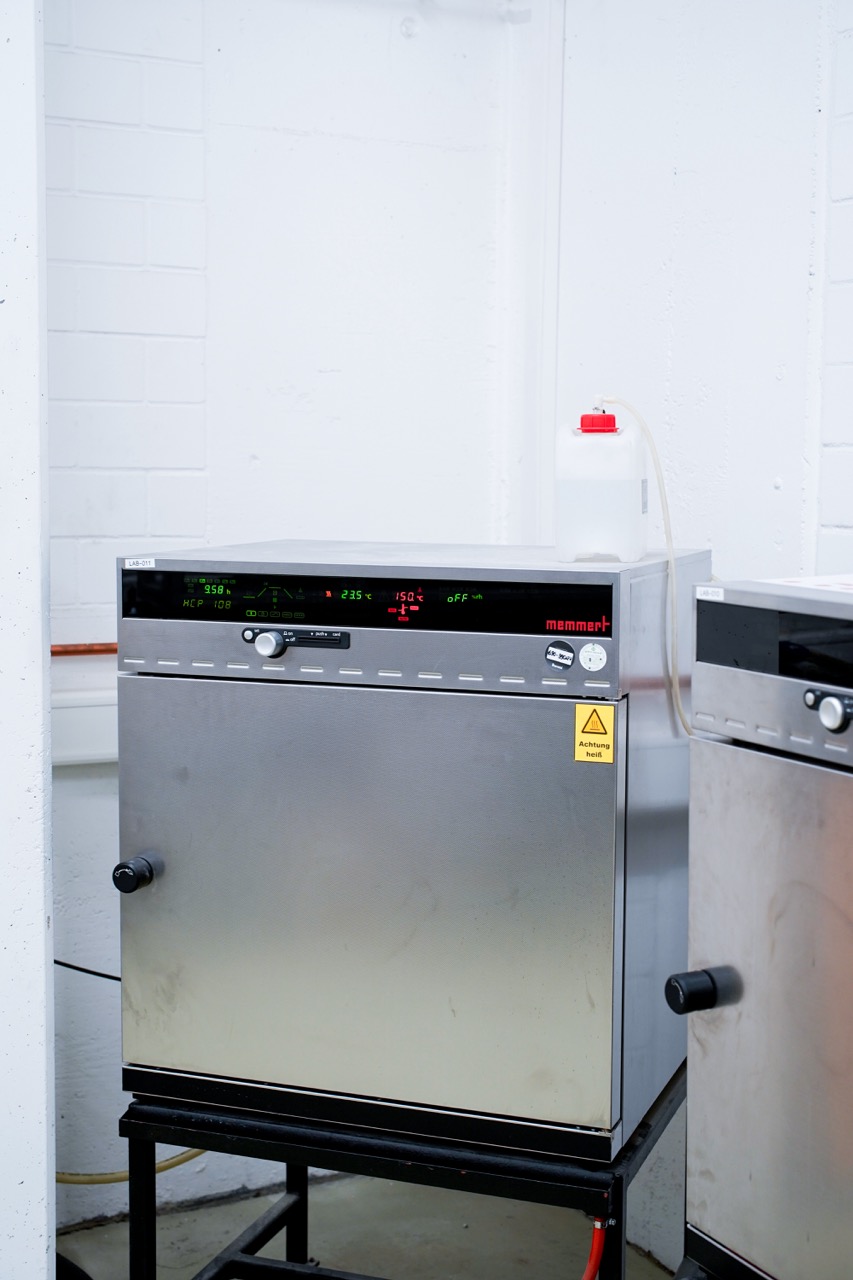
Setup and conditions: The device used is a humidity chamber which must be between 60C° and 70C° with 95% humidity. The specimen rests there for a predefined time e.g. 60h (depending on the requirements of footwear category, component, and brand). Then, the test specimen is getting removed and re-conditioned according to the specified conditions.
What is measured: Mechanical and optical properties before and after the test.
Interpretation of test result: To evaluate the result comparison to different material specifications, pictures of the material (before and after) are added to the test report. Also the specimens are checked on their appearance if there have been changes after the hydrolysis. There should be no visible. Material defects from hydrolysis could be color leaks, porosity or impairment of mechanical properties.
Tested materials and components: The Hydrolysis test is used on all upper and bottom materials containing PU because this material contains softeners. Those softeners can vaporize during the process of hydrolysis which would make the material hard and brittle.
4. Migration test
Purpose: Avoidance of color diffusion from a material to either other shoe components or consumer feet.
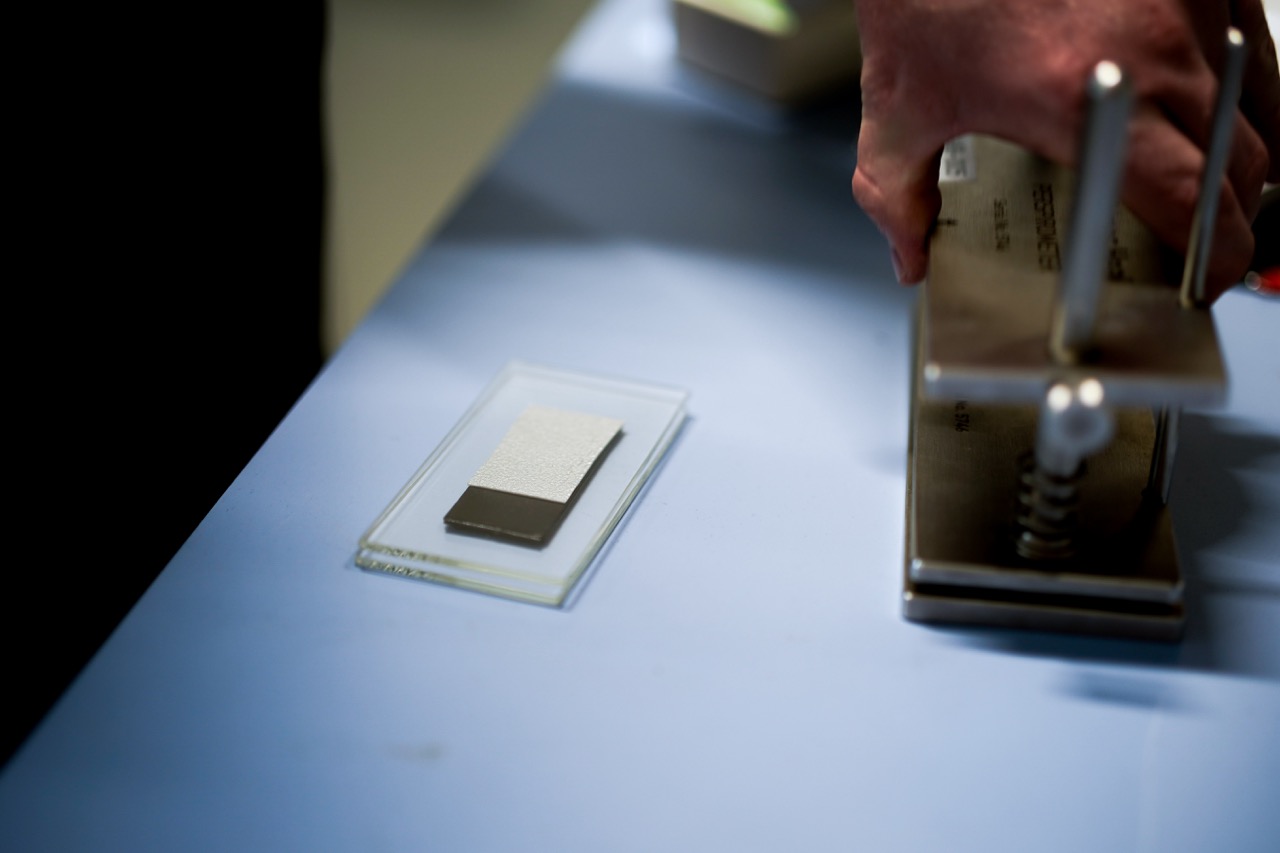
Setup and conditions: A test specimen is placed onto a PVC foil between two glass plates. Afterwards an additional weight is added, which holds the two materials together until the screws are fixed. The weight is removed, and the test specimen is placed in an oven at 50 degrees for 16 hours. After removing is from the oven it needs to cool down for approximately two hours before the PVC film is separated. The darkest part of the PVC film is then compared with a greyscale.
What is measured: Optical appearance of color diffusion from the test specimen transferred to a PVC testing foil.
Interpretation of test result: The test can be considered as passed when the material specimen is not discoloured by the PVC foil in any way.
Tested materials and components: Can be done with multiple of materials.

Purpose: Blooming is the migration of the surface color after an amount of time. In the shoe industry, this could cause the shoes to gain white edges around their black outsole after standing around for a while. The shoe would look degraded.
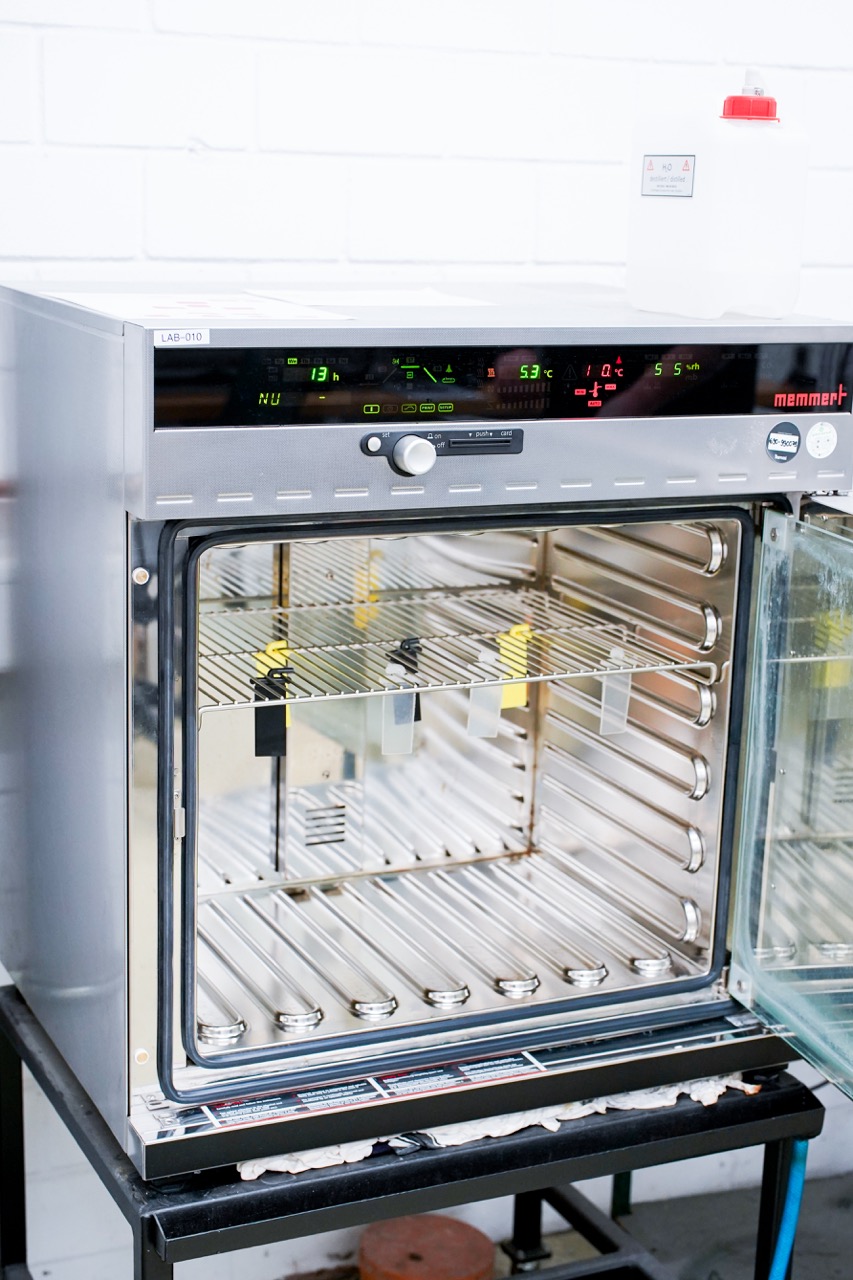
Setup and conditions: The blooming test is done in the humidity chamber using distilled water. To start the test, the raw material must be at least conditioned for 12 hours at standard room conditions. The test specimen must be cut out of a rubber plate or an outsole. Hang the specimen into the oven to avoid the condensation of water from vapor on the specimen surface. Close the oven and let the test run at 60°C and 95% humidity for 7 days (do not open otherwise drop in humidity and temp). After 7 days take the specimen out of the oven and let it cool down to standard room conditions for 12 hours.
What is measured: Check appearance of the specimen and with the help of a special black wipe to to check whether a white film already appears in the oven after 7 days.
Interpretation of test result: If there is a white film on the surface (blooming) of the specimen the material must be rejected.
Tested materials and components: The blooming test is done on all rubber materials, components to assess the blooming possibility under extreme conditions of temperature and humidity.
6. Water content analysis
Purpose: The water content test is an important test to assess manufacturability of a material. The test determines the material’s water content. If a material has a wrong content, this could cause processing problems.
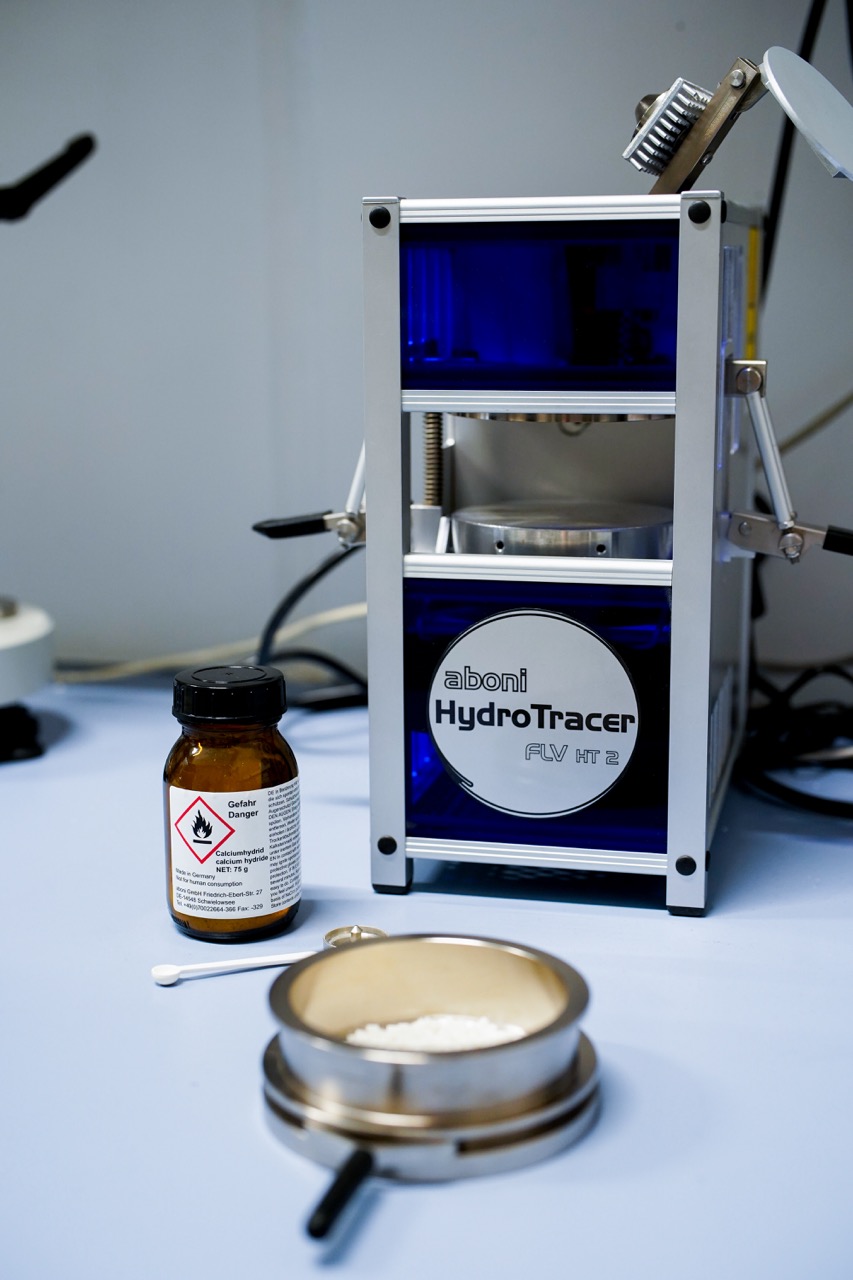
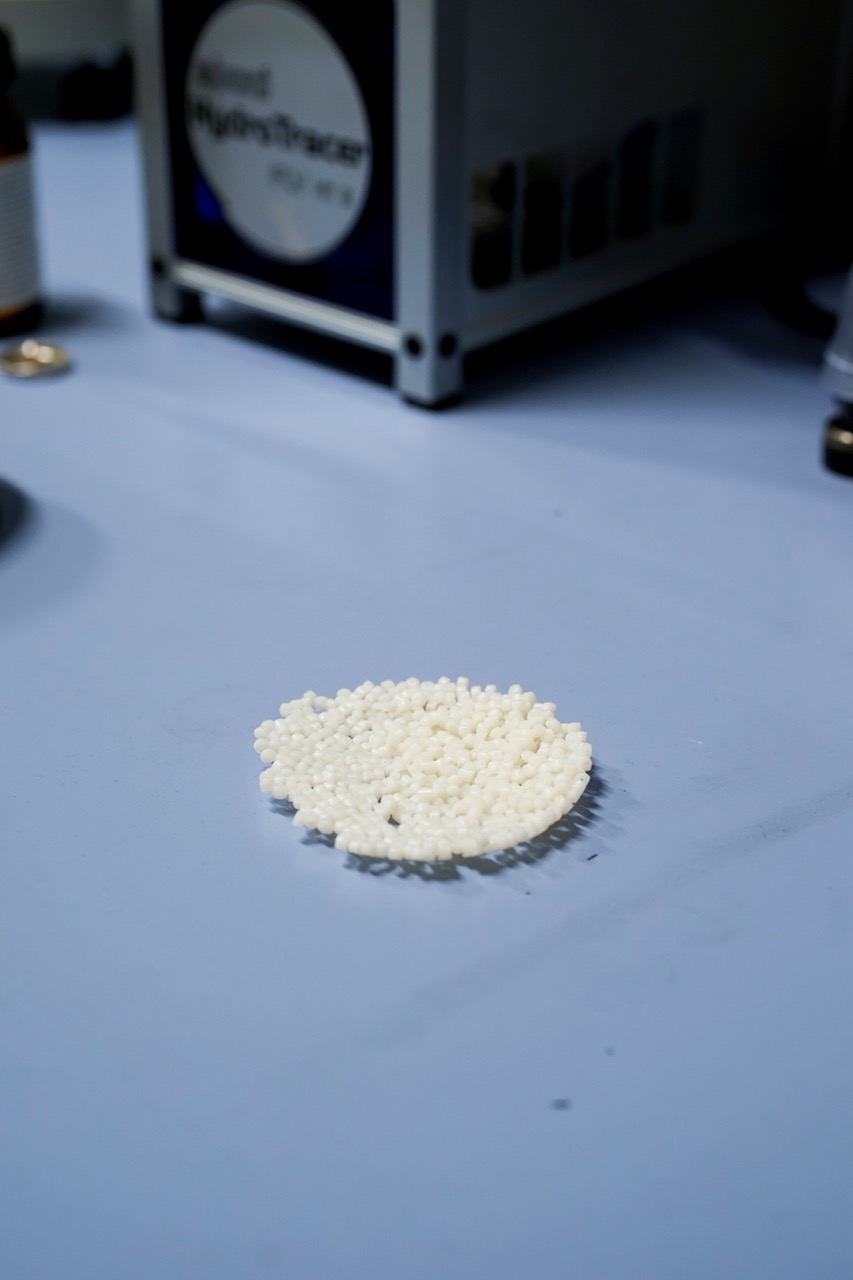
Setup and conditions: The test is done in a water content analysis reactor. It is the first step to put 8g of the granulated material in a bowl. Subsequently, calcium hydrate is placed in the section above. The final test is stared when the reactor is heating up to cause condensation from the water content of the granulated material. The condensed water is then reacting with calcium hydrate resulting in the gas hydrogen which is spreading within the reactor.
What is measured: A sensor in the the reactor is measuring the concentration in % of the hydrogen as soon as the concentration value stabilizes.
Interpretation of test result: You can say, the higher the concentration of hydrogen, the more water the material was containing. Each material has a specific water content which must be further processed. Depending on the water content, footwear component manufacturers decide if the material needs to be further dried before processing or not. This is all done to ensure manufacturability and also sustainable matter, to not waste material in production.
Tested materials and components: This test is done with all kind of raw materials, e.g., TPE, PEBA, and PA.
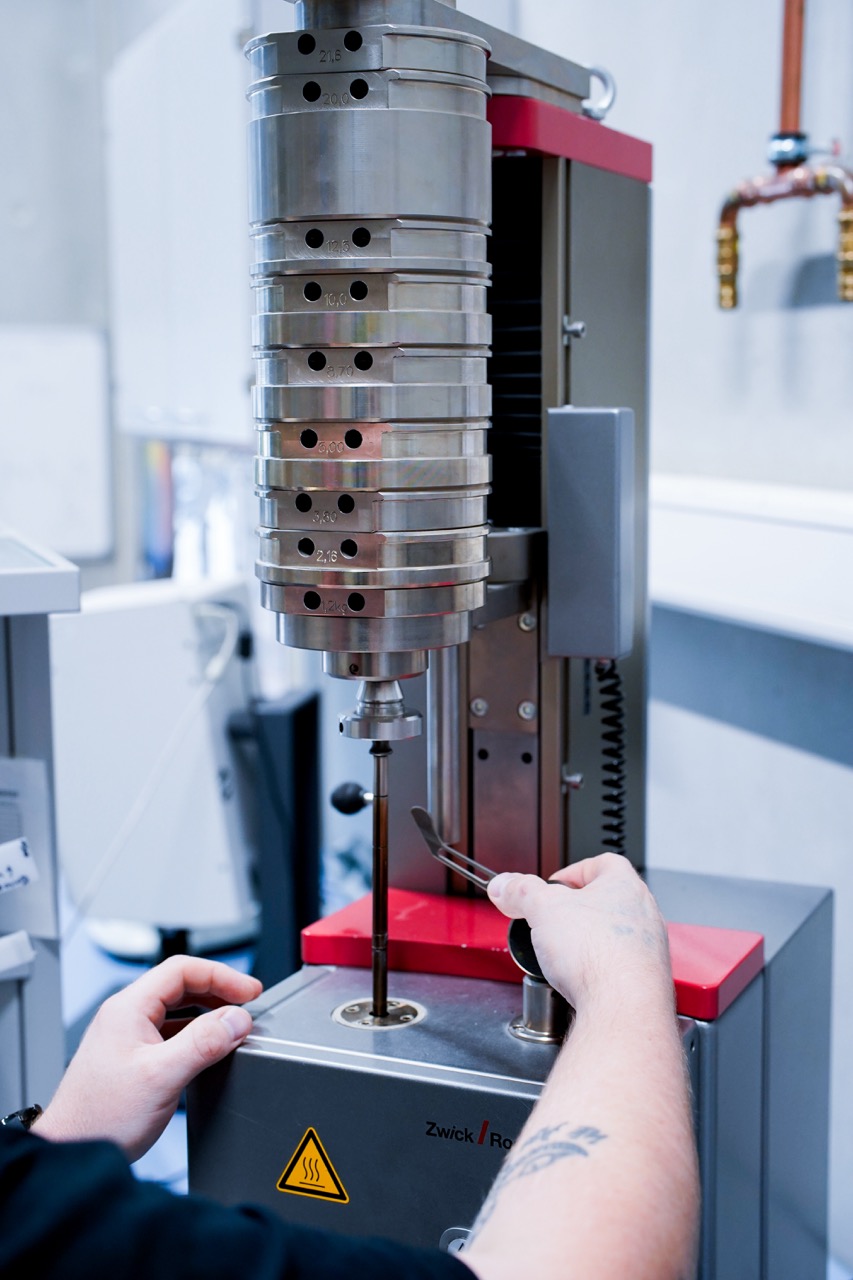
Purpose: The melt volume rate test determines the strength of pressure and degree of heat the material can handle. It helps to steer the setting for manufacturing of the material.
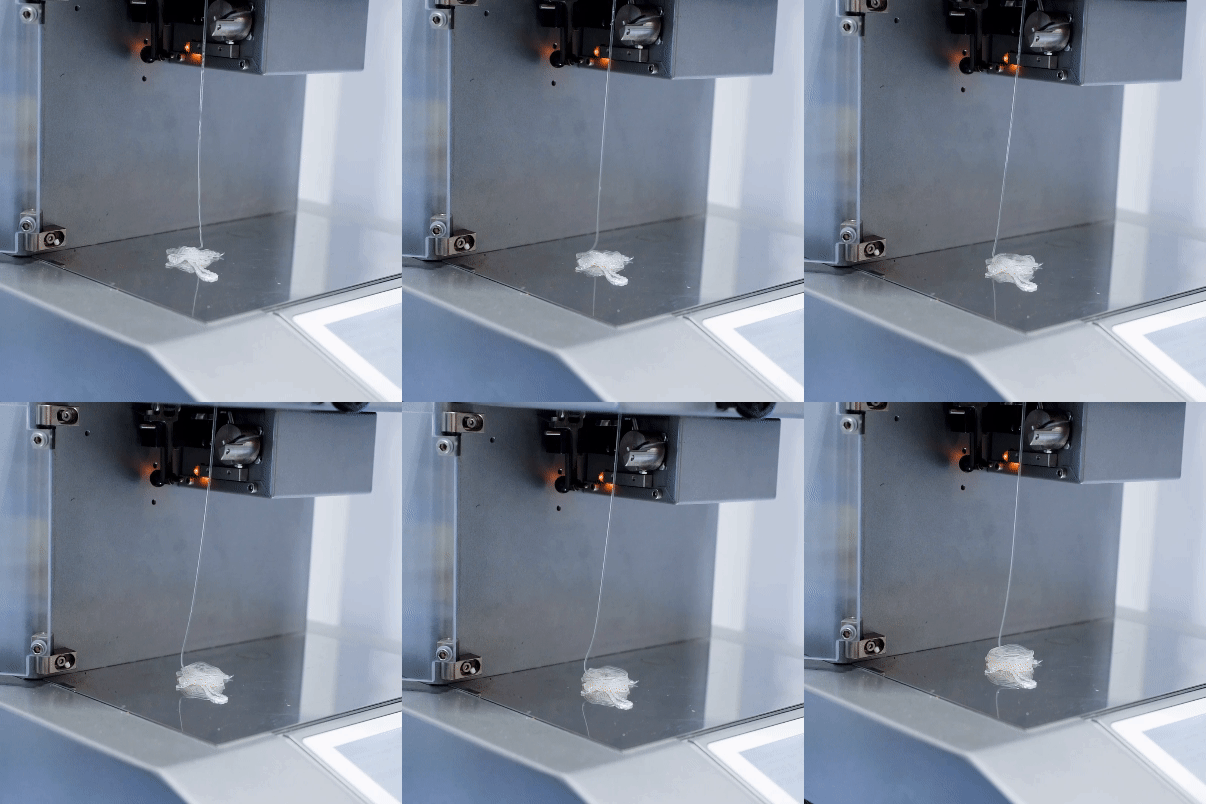
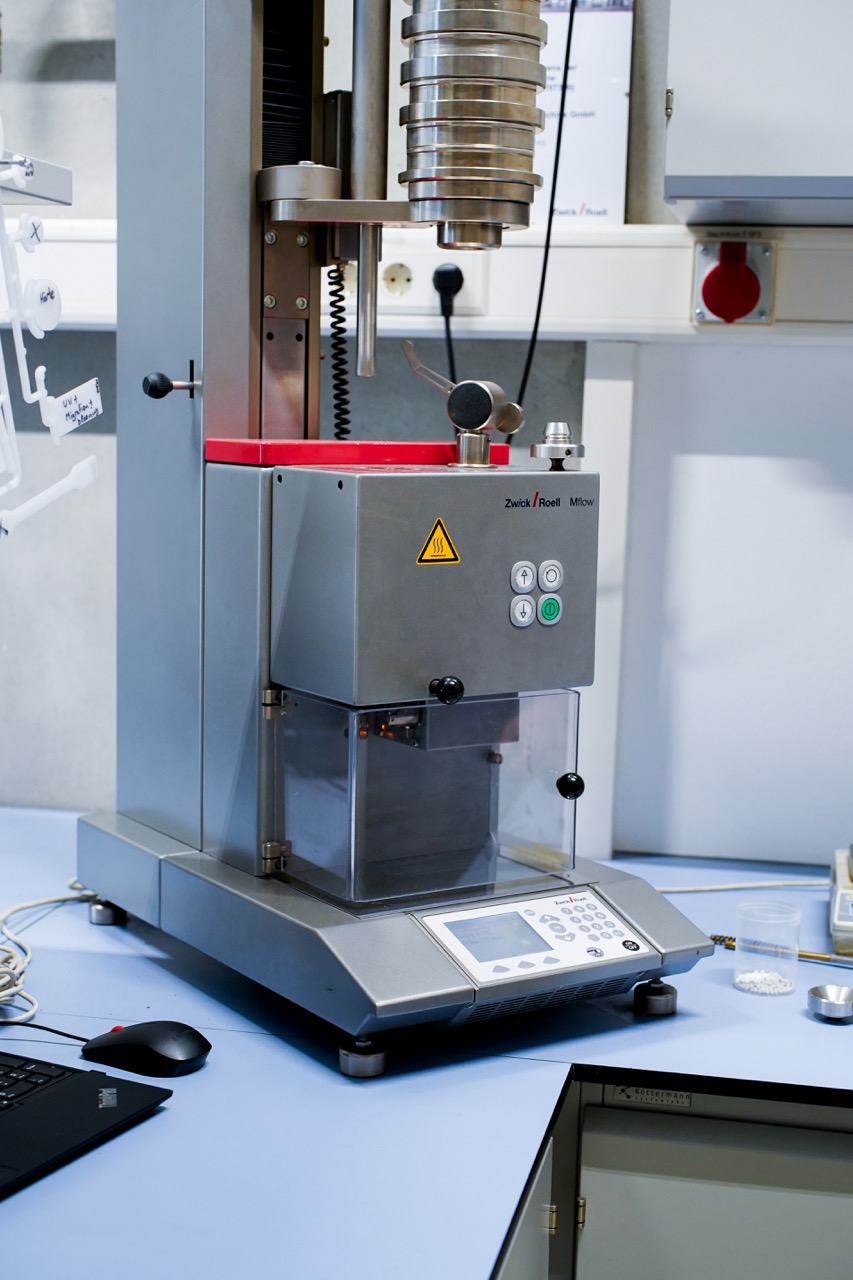
Setup and conditions: The machine used is Mflow together with material granulates. The machine is set to a standardized temperature, then the material is added. The material is compressed for a time of around 5 minutes to extrude all air which is still in the material. As soon as all air is extruded the already melted material is pushed through a injection pipe with a preset weight.
What is measured: It is measured how fast the material is flowing through the 2mm injection pipe, Using the melt volume rate (MVR) cm3/10min. Viscosity is a measure of the viscosity of a fluid. The reciprocal of viscosity is fluidity, a measure of the flowability of a fluid. The higher the viscosity, the more viscous (less flowable) the fluid is; the lower the viscosity, the more thin (more flowable) it is.
Interpretation of test result: With the results the injection machine can be calibrated and set to the right parameters for the corresponding material. Thus, the information helps to avoid high material waste during the preparation time of an injection machine.
Tested materials and components: The test is done with all new delivered materials or to control certain materials already in use if something is not set right in the injection parameters.
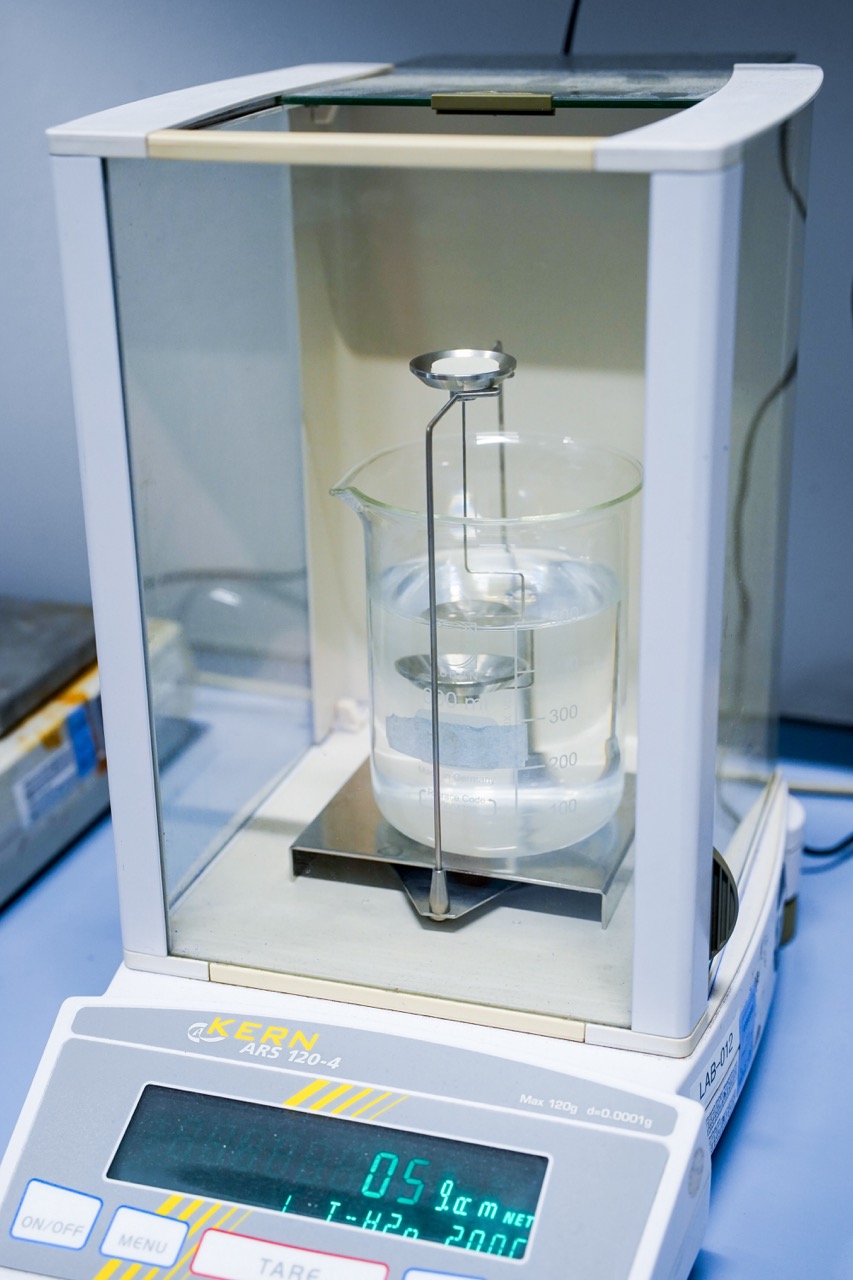
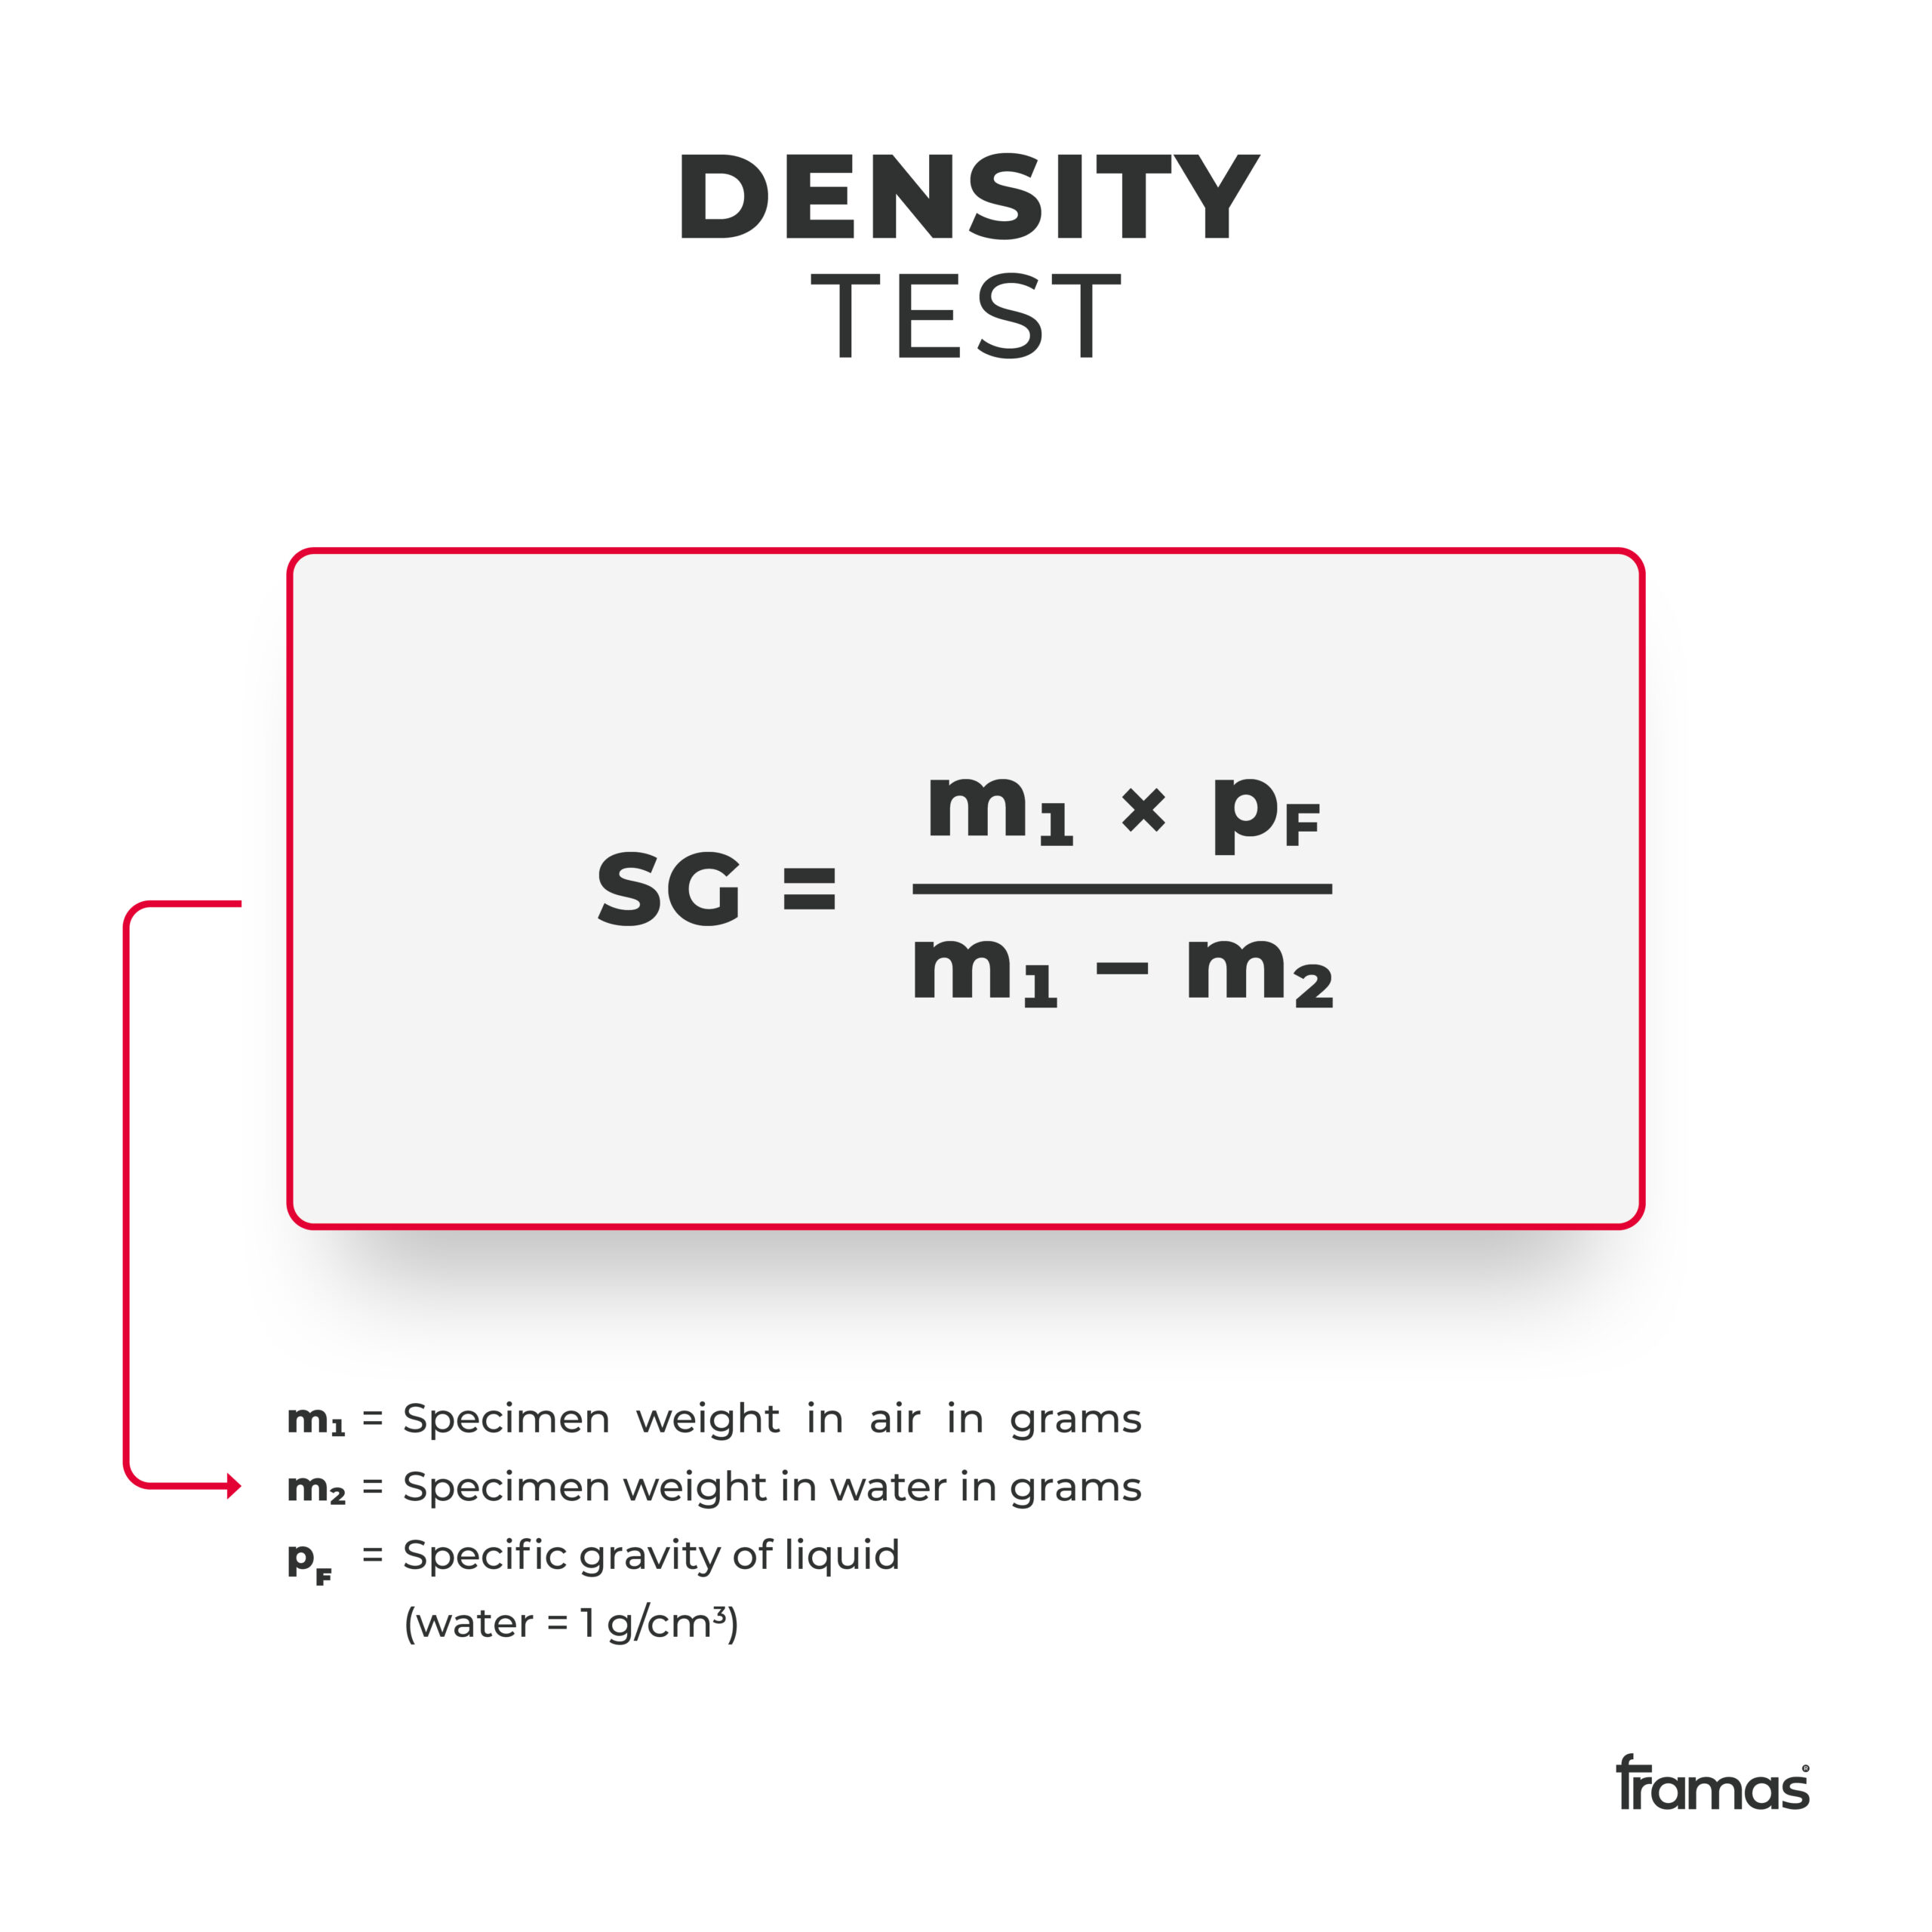
Purpose: The lighter the shoe, the lower the density. The density test is important for other tests, such as the abrasion test where the density value is needed for the formula.
Setup and conditions: For the test to be done, a scale with a 0,0001g accuracy is needed as well as a beaker. To make sure the right density is calculated, there are a few quality assurances to take into consideration. There should be no air bubbles on the test specimen during the test, the specimen should not be in contact with the walls or bottom of the water tank. The specimen should be totally immersed when weighed in the water.
What is measured: To calculate the density, take the specimen and weigh it in the air and then in the water. Use then the values in the formula to get the specific gravity.
Interpretation of test result: The density depends on the material used. Specific materials should have specific densities. This is important for the abrasion test. The density plays an important role when it comes to midsole foaming. Modern foaming technique for high performing footwear achieve a density down to 0,19 SG. As a comparison, running TPU Outsoles have typically a density of 1,1 to 1,25 SG.
Tested materials and components: The density test is done for all materials to determine their specific density.
If you liked this article, make sure to follow our Social Media channels. You can contact us anytime via LinkedIn, Instagram & Facebook. We are happy to receive any feedback and tell us what other topics are of interest to you. We will try to address them in the near future.
Thanks for checking out our blog!

Neueste Kommentare