Footwear testing methods – Part 1
Footwear testing methods [1/2]
22.09.2023 · Expert Michael Wendling / Editor Jakob Hellgren & Luisa-Maria MrcelaIn this blog post we would like to introduce to you the commonly used testing methods within the footwear industry. It should give footwear developer, designer, and engineers a guide on what tests to select and conduct when it comes to the selection of the right materials for footwear developments.
Why do I need material testing?
The testing of footwear components and materials is key to test the sufficient functionality of the later shoe even before the shoe is designed, sampled, produced or fit tested. By choosing the right material test, footwear developers and designers save time, money and energy.
Depending on the purpose a material must fulfil on the shoe, the material requirements can be quite different. In the right choice of tests, it plays a major role in whether the component has a design function, whether the part is visible or hidden, whether the part must fulfil a safety-relevant aspect or whether the part must have a certain performance. Each sport or footwear category has its own guidelines, standard tests or benchmarks.
In general, one can say that material tests ensure the design intent, the function, the safety, manufacturability and longevity (and thus also the sustainability) of a shoe.
Navigation
Important definitions in material testing
Material tests done in the footwear industry
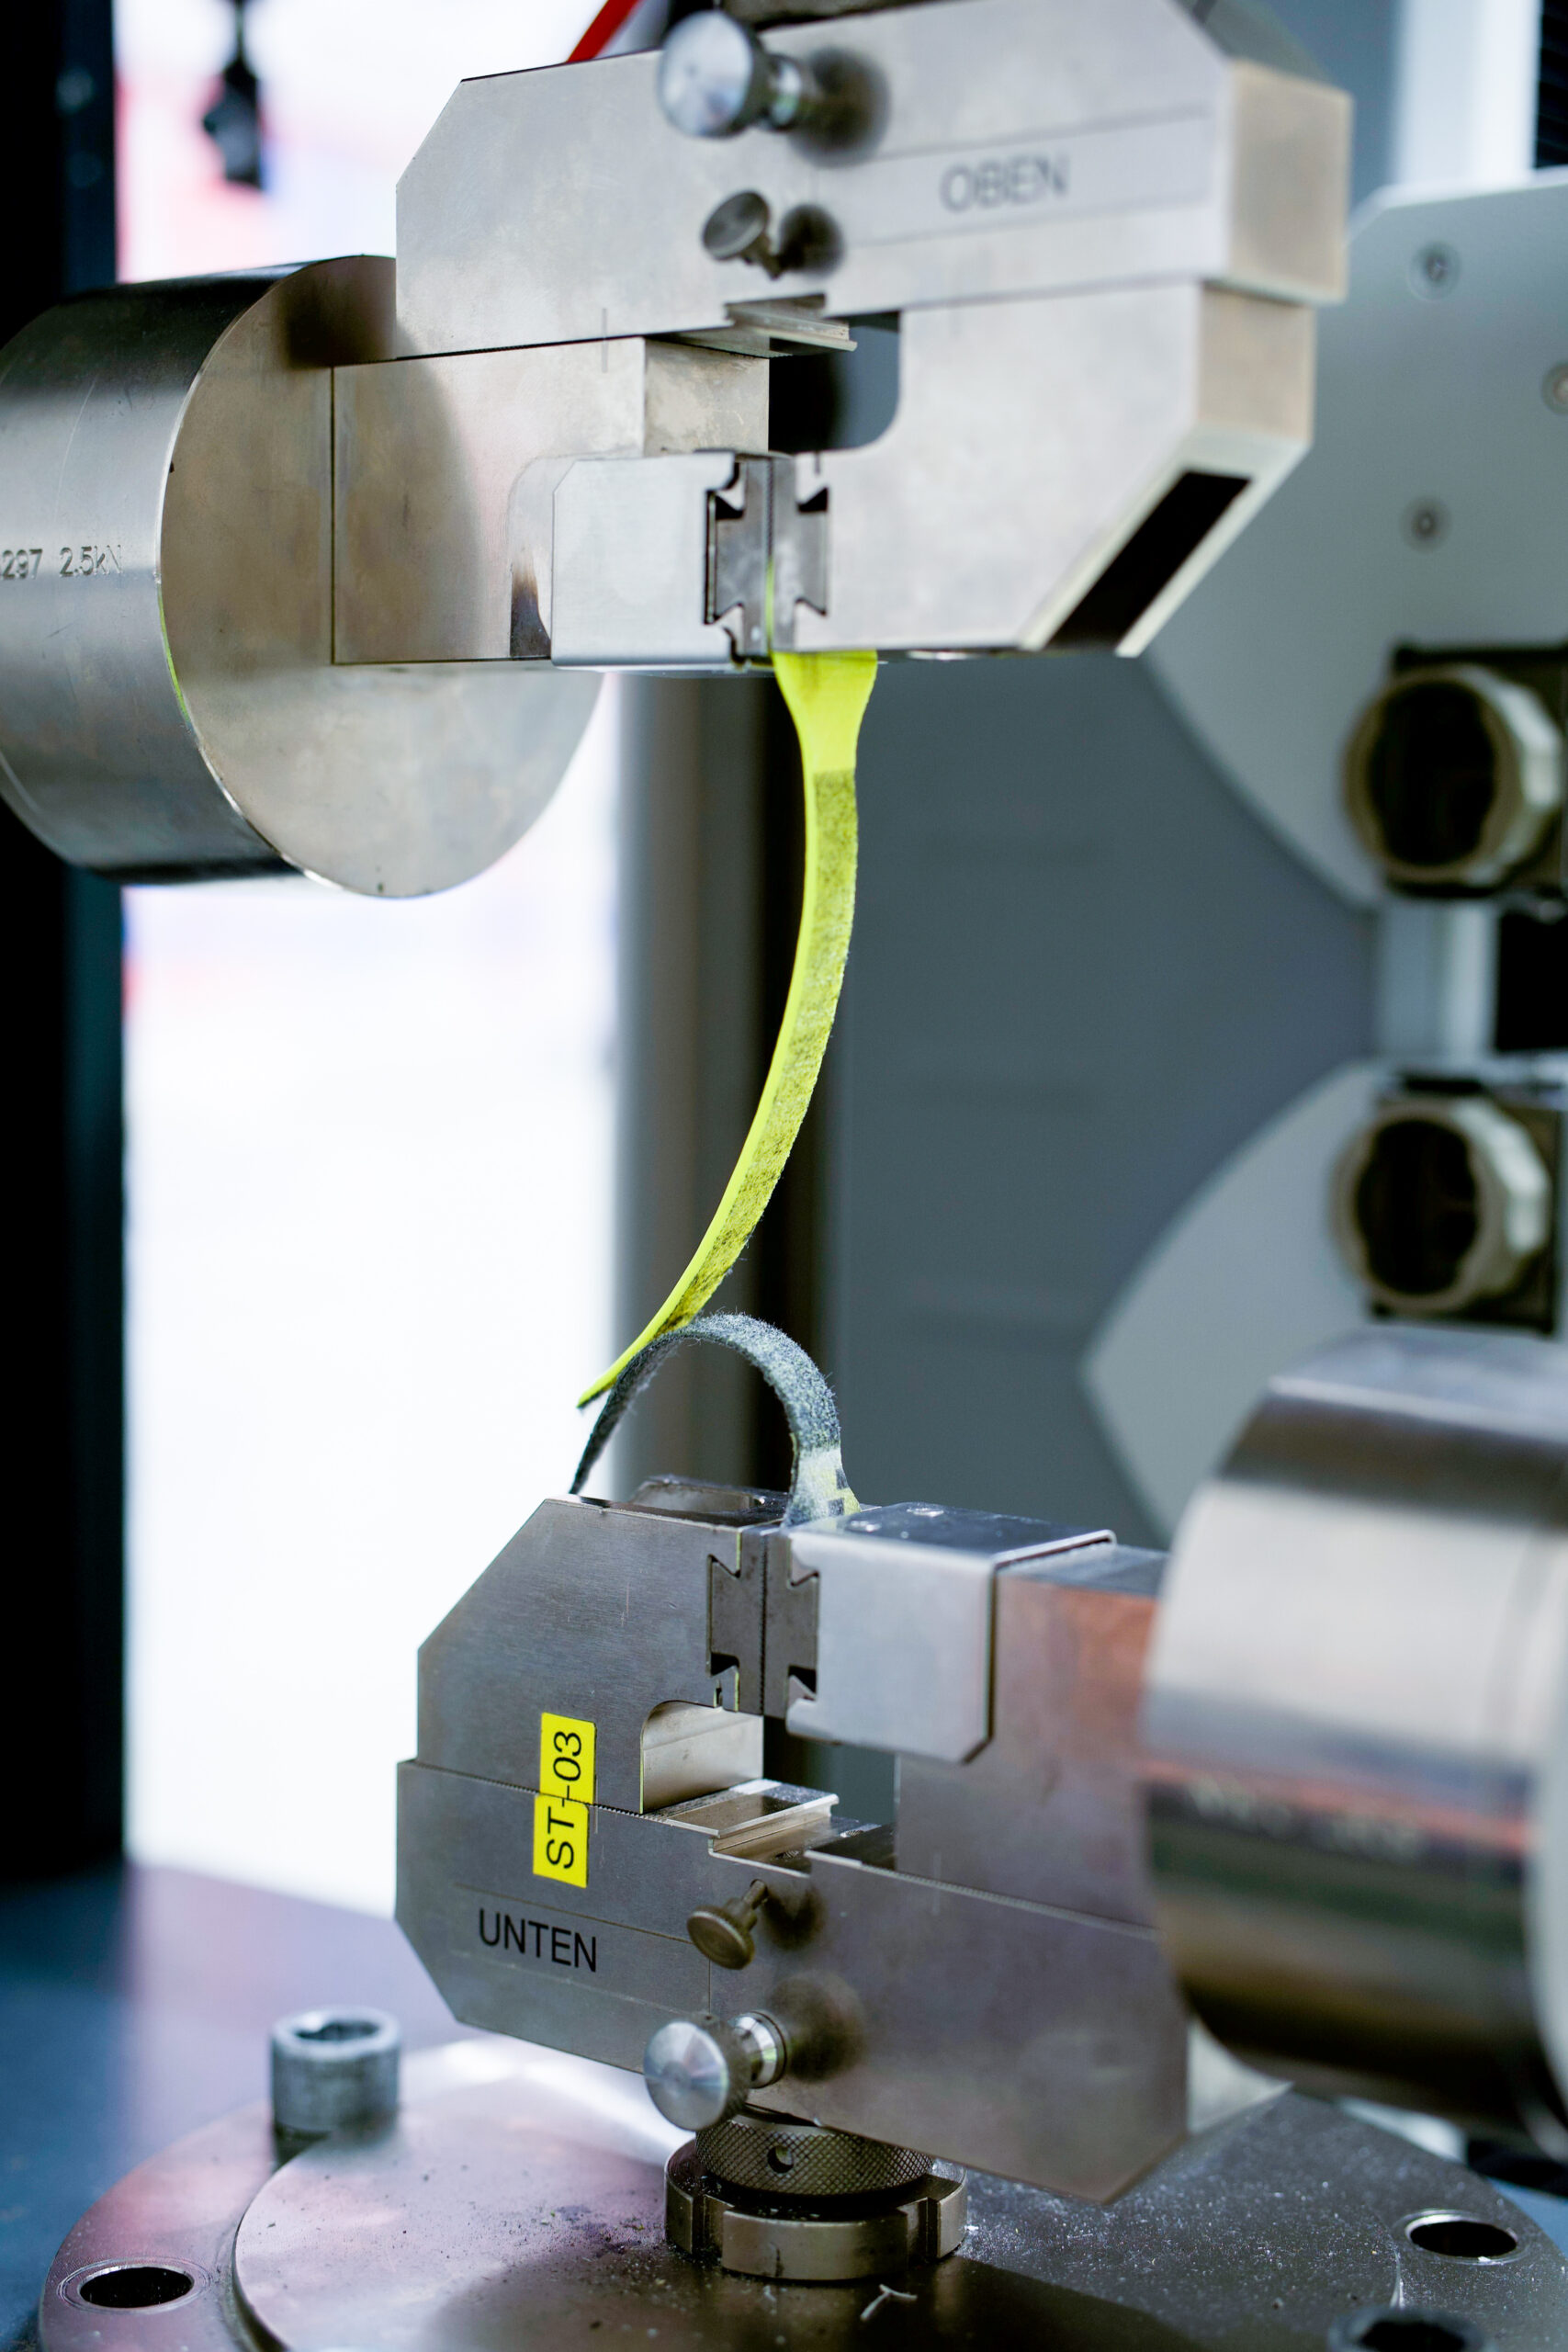
1. Tear strength
2. Bonding test
3. Tensile strength
4. Stud tip pulling
5. Rebound / Resilience
6. Shore hardness measurement
7. E-modulus / 3-point bending
8. Flexing tester / Fatigue bending
9. Abrasion
10. Compression set
11. Slip safety
Important definitions in material testing
Condition a material
Taking a material from its original form to a state of how it can be used in production.
Tensile tester machine
Though the name of the machine is a specific test, this machine is used for the majority of tests as it can function with different speeds and distances. For each test, it is altered and put into the start position to start the tests.
Elastic material properties
Elastically means that the material will return to its original dimensions after deforming.
Plastic material properties
Plastically means the deformation of the material. Some fractions remain permanently and non-reversible.
Yield point
The limit between elastic behavior and the beginning of plastic behavior is called yield point (or yield strength). In brittle materials the ultimate tensile strength is close to the yield point, whereas in ductile materials the tensile strength can be higher. Polymers used in footwear applications belong usually to more ductile materials.
Test Specimen
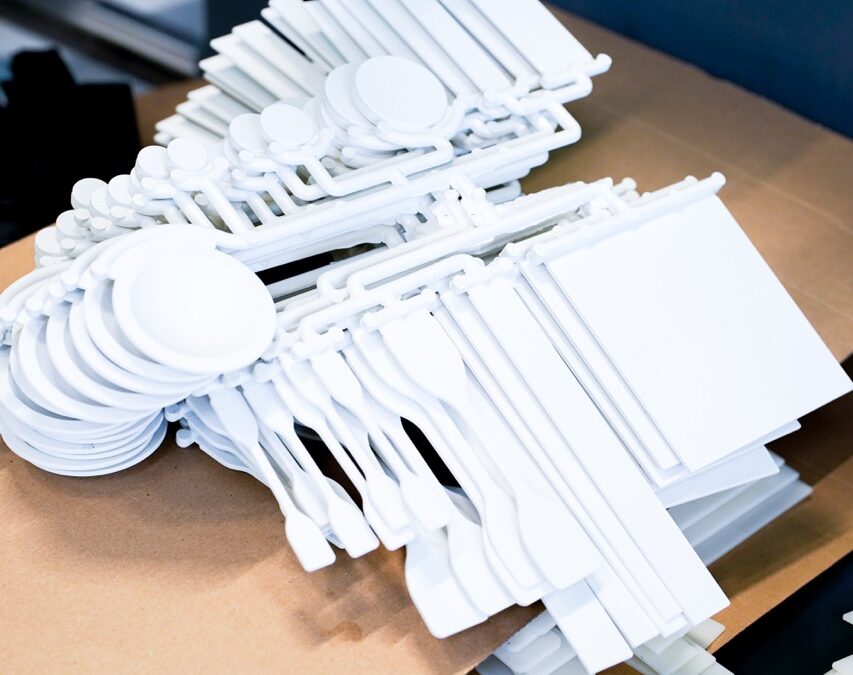
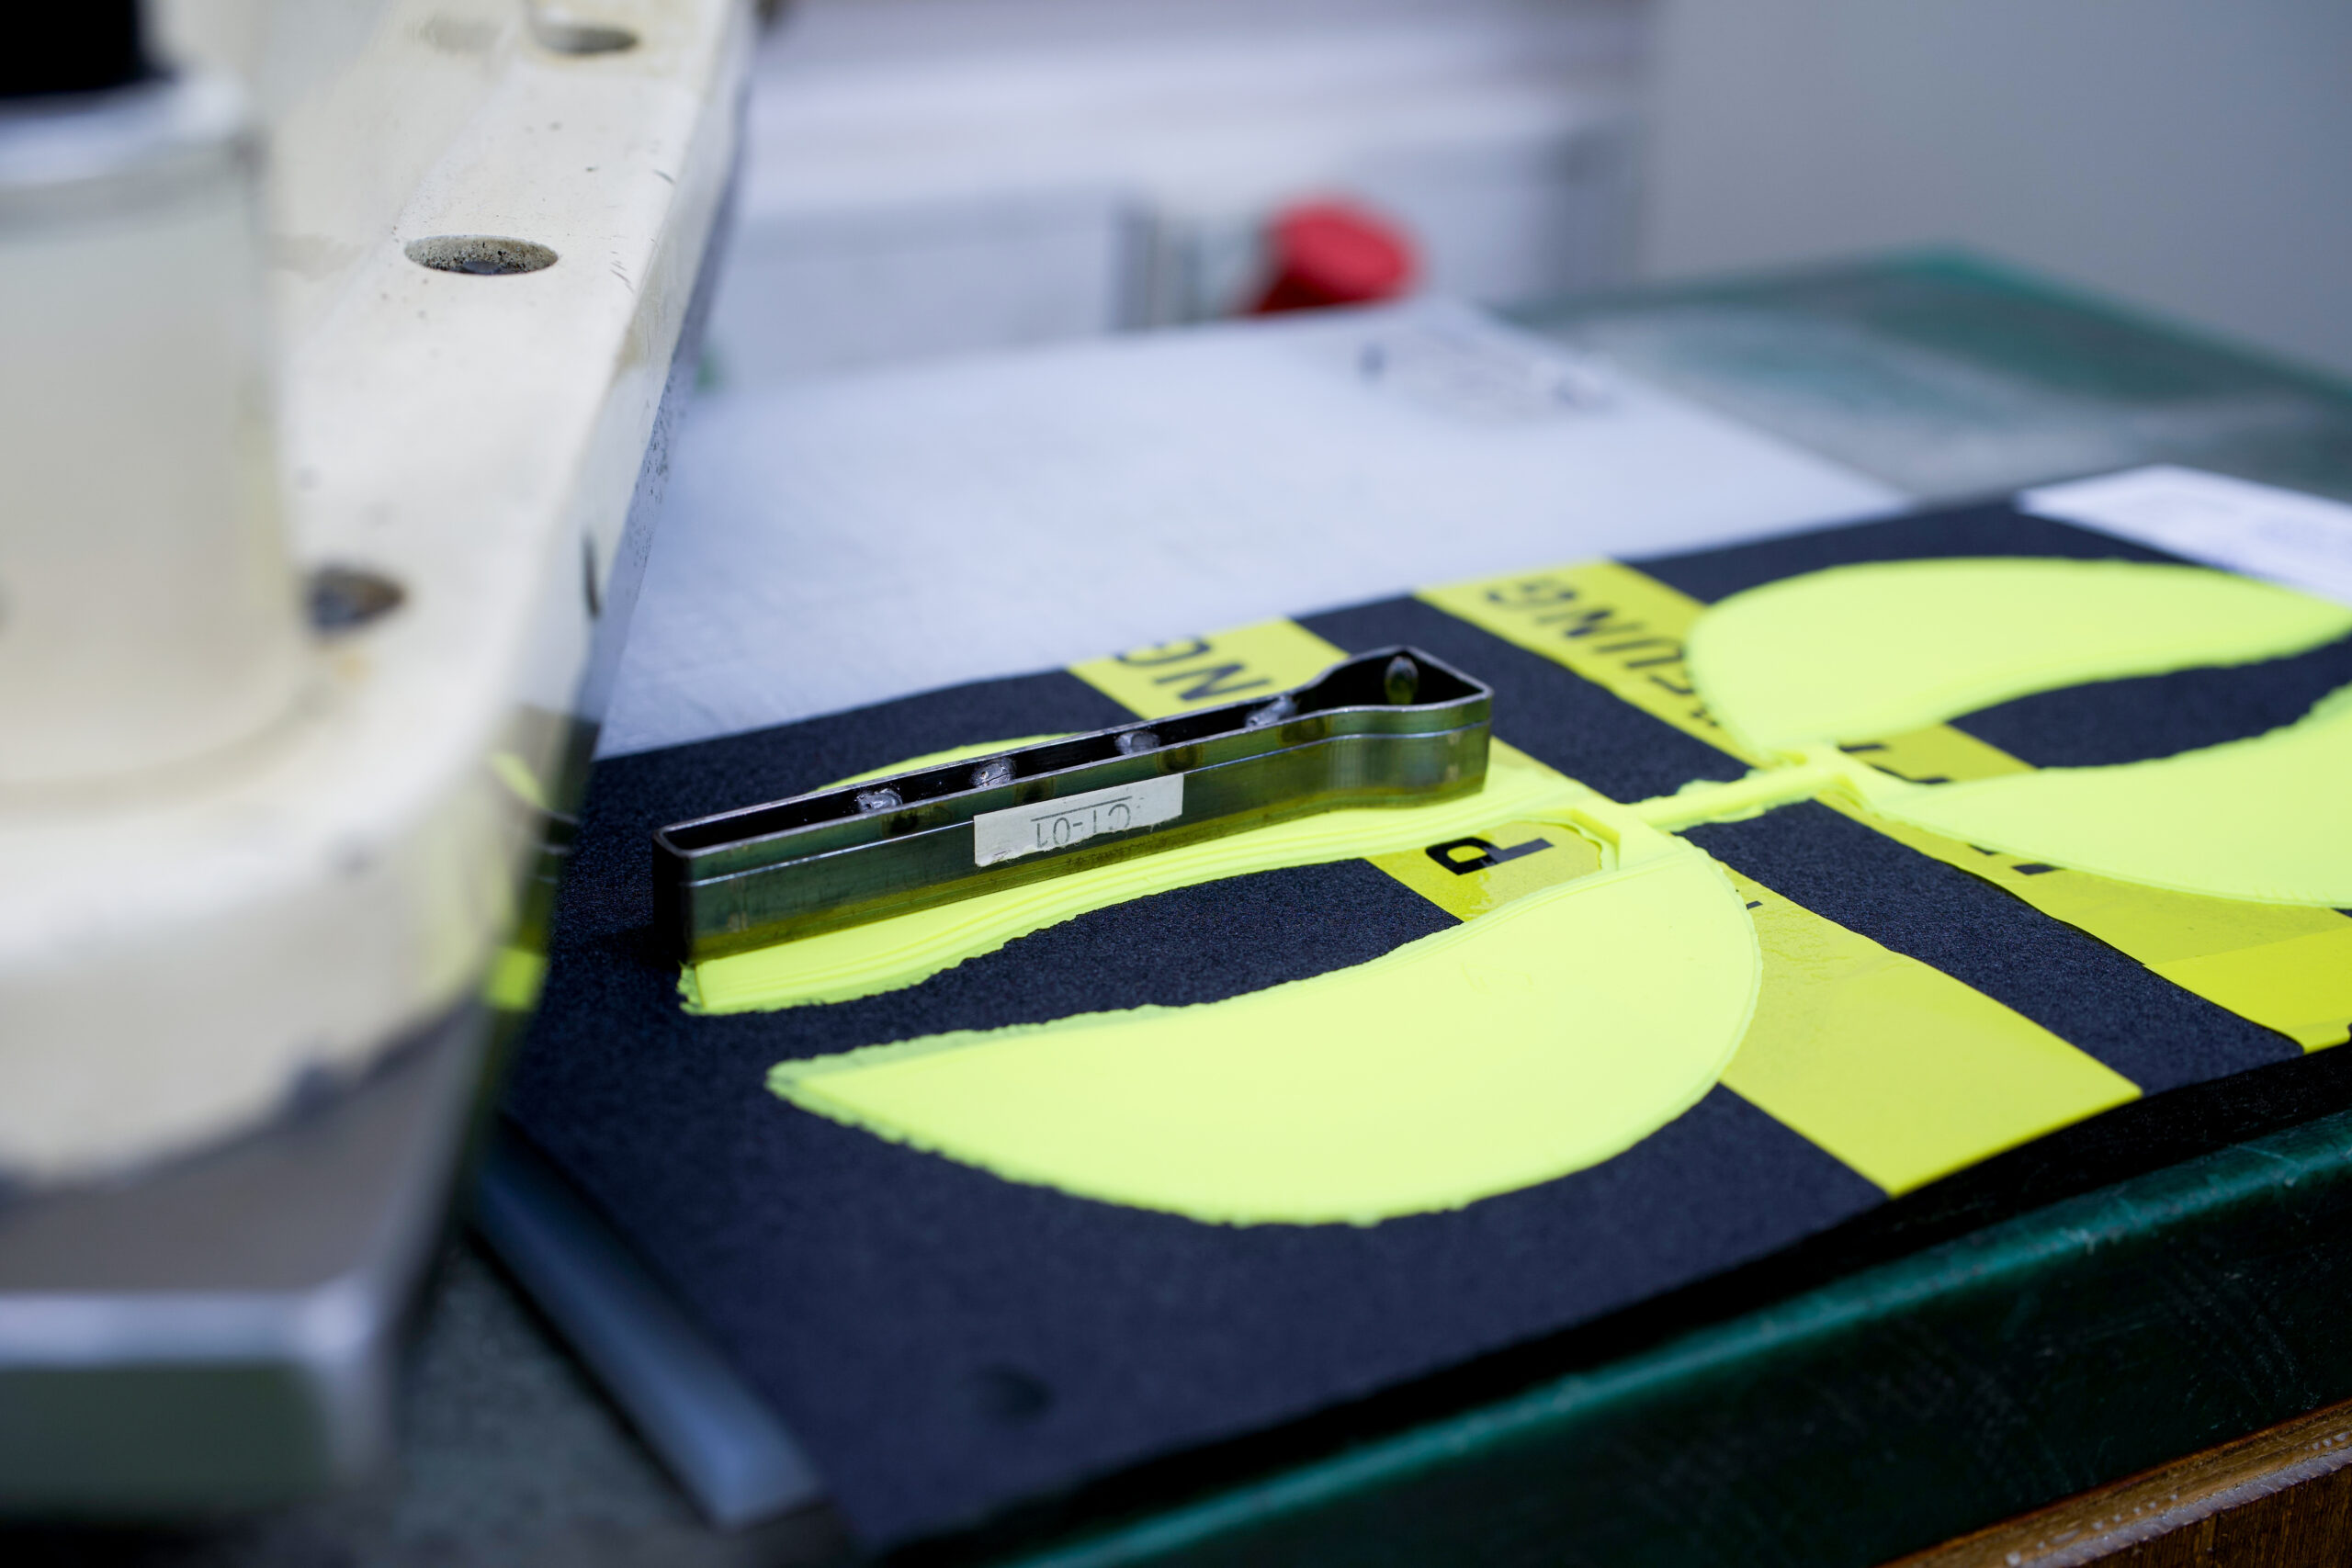
A test specimen is the material injected into a standardized shape/form to ensure that the test is comparable and can be conducted easily.
Material tests done in the footwear industry
Mechanical tests
Mechanical properties concern mostly performance requirements. These tests focus on how the material is built, what it can endure in different aspects such as stretch, humidity, and abrasion. The tests include shore hardness, tensile strength, breaking elongation, E-Modulus, tear strength, abrasion resistance, traction, fatigue bending, resilience, 3-point bending test, stud tip pulling, dome test, shrinkage, slip safety test, compression set and bonding.
1. Tear strength
Purpose: Ripping materials in footwear can turn into serious function and safety issues. Moreover, ripping damages can reduce the lifetime of a shoe and are therefore sustainability issues. A material with a good tear strength ensures that the shoe does not rip when it gets stuck somewhere. The tear strength test determines the force at which a material with a cut or slit will begin to rip.
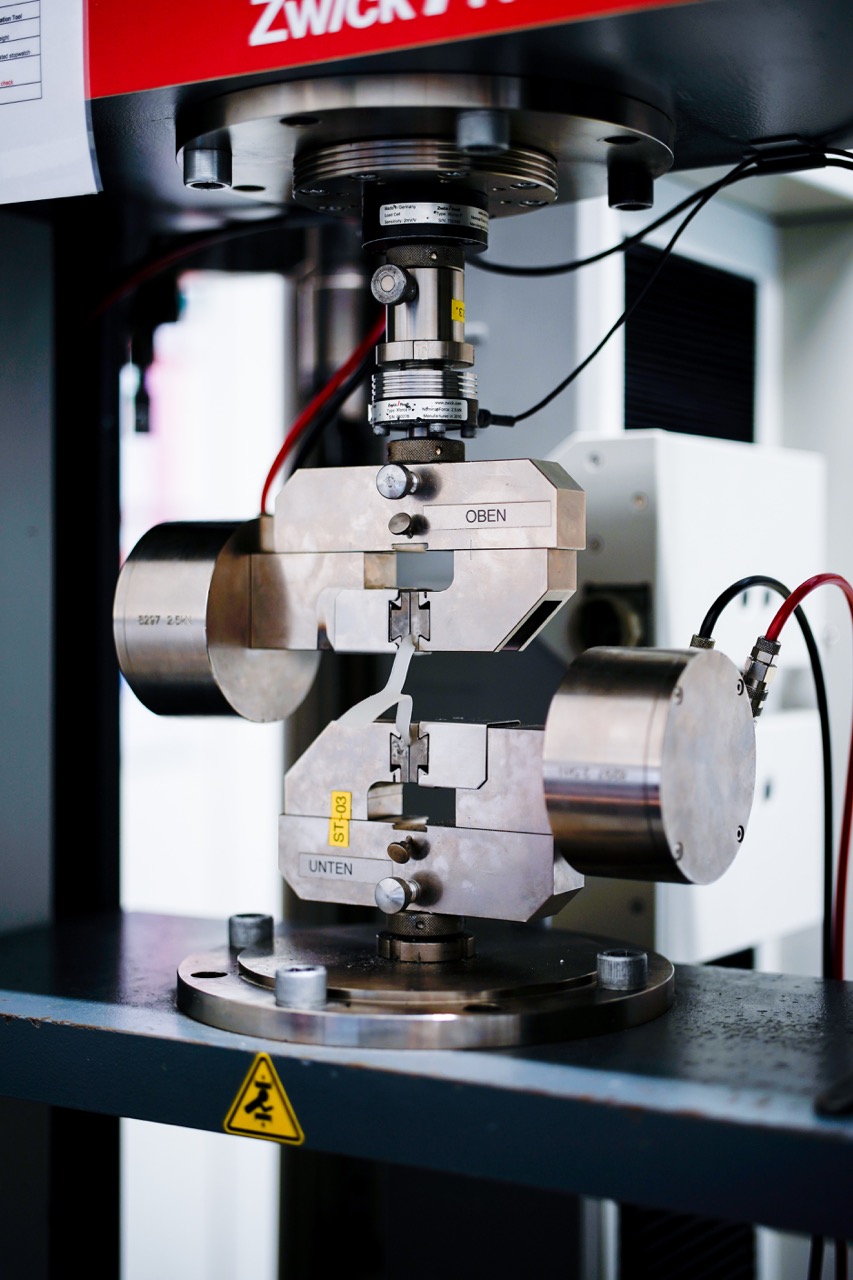
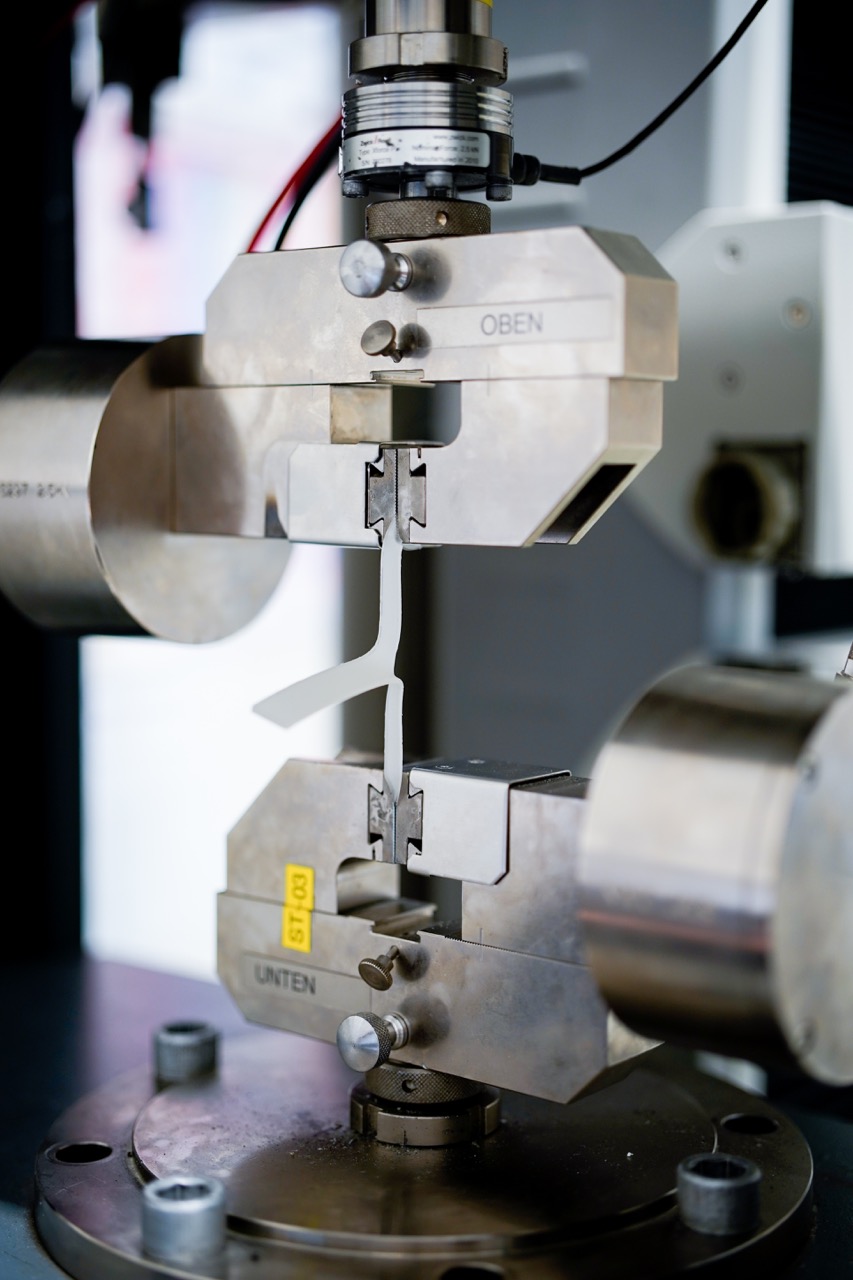
Setup and conditions: The machine used is a tensile testing machine. The test specimen has a length of 10cm, a width of 1.6cm and a thickness of 0.2cm. Each material type has its own way of being cut but the test is always conducted under normal room temperature conditions at around 23 degrees Celsius and at a relative humidity of around 50%. To start the test, the tensile machine must be set to the required test position which involves the right distance between the clamps and at the right velocity. Then, the load is set to zero and the test specimen with the pre-cut tear is placed between the clamps so that each shank of the test piece is held by the upper and the lower clamp. The test is then run at a predefined speed until the material totally breaks. Depending on the material, the tensile machine will stretch the material at different speeds.
What is measured: The measured value is the so called “moment of force” in Newton millimeters (N/mm). It tells us how much force was needed in the test to tear the test specimen 1 millimeter.
Interpretation of test result: The more force to tear a millimeter material is needed, the better the material will perform in your shoe. The required minimum value of the test to determine if the test passed or failed depends heavily on the application of the footwear and the individual footwear brands standards. You can say that usually footwear application should exceed a tear strength of 15 N/mm to succeed the tear strength test. The longer the test specimen takes to break, does not mean that the material is better. To compare two tested materials in their tear strength the same base force must be used.
Tested materials and components: The tear strength test is reasonable to conduct for a vast of materials. TPU and rubber outsoles are often tested.
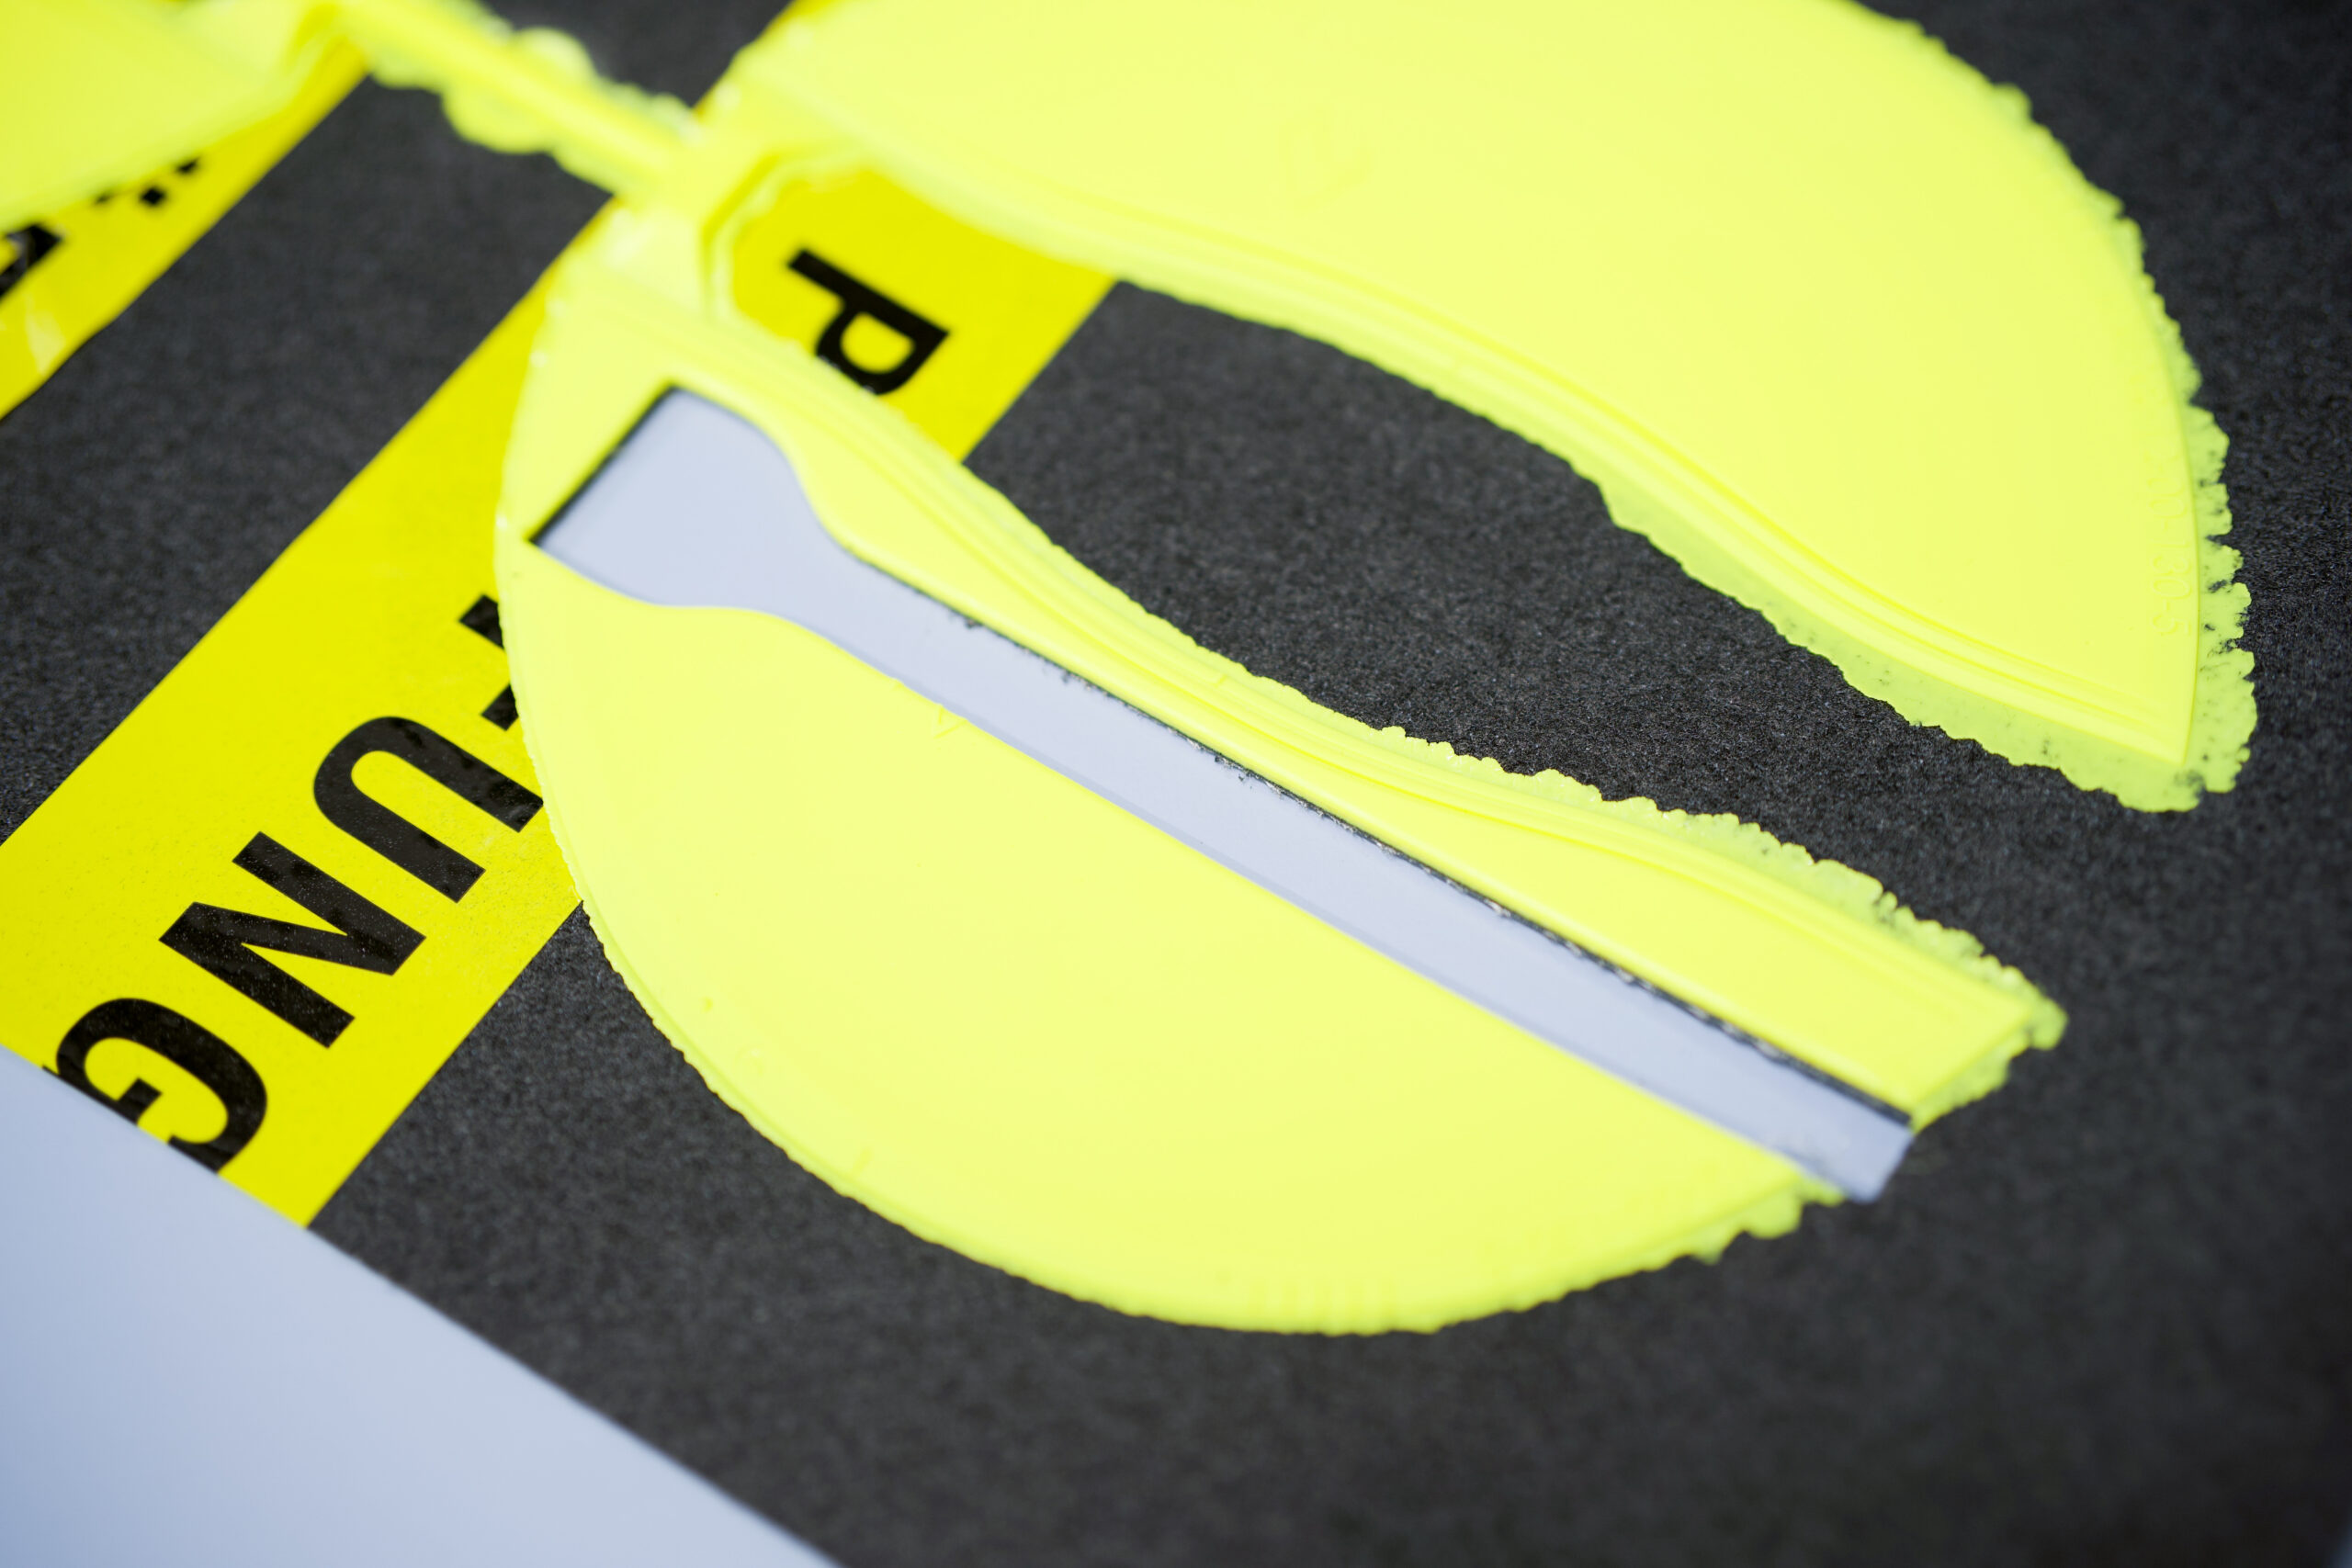
2. Bonding test
Purpose: Each shoe consists of different materials which are glued or stitched together. In order to guarantee a good performance and a long endurance they must hold the shoe together. The bonding test is used to see how much force is needed to separate two materials or in other words how good a material bonds to another one. This is tested e.g. to check the bonding ability of an out- and midsole.
Setup and conditions: This test is done using a tensile strength testing machine. Four parts are tested per fabric for every size and color. The specimen is inserted into one clamp and the material into the other clamp. The machine is then started and observed until the two fabrics get separated. This test is similar to the tear strength test, the only difference is, that two materials are tested instead of one.
What is measured: Besides tensile strength and elongation of break, the bonding test takes especially the adhesion strength into consideration.
The adhesion strength (AS) [N/cm] is the relation of the recorded force and the width of the material specimen. It shows how much force is needed to initially start a detaching process of the bonding.
Interpretation of test result: Typical requirements for a footwear bonding are a minimum adhesion strength of 70 N/cm for polymers with a hardness >80 Shore A and 40 N/cm <80 Shore A.
Tested materials and components: There are several combinations of materials that could be tested: midsole with outsole, insole with midsole, inlining with toe caps and so on.
3. Tensile strength
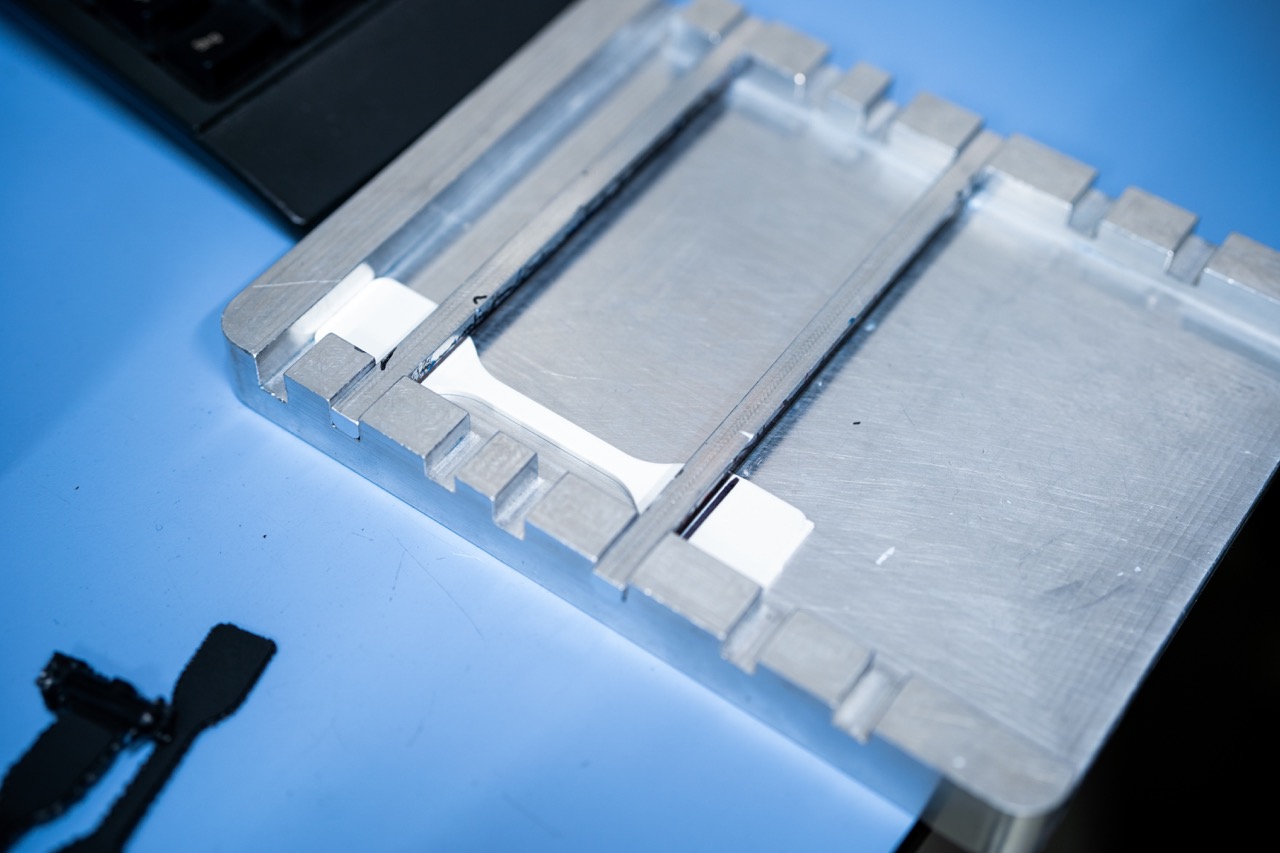
Purpose: Some footwear categories require shoes to function under extreme high pressure, even though the material is stiff, which is usually an indicator for less elasticity. For instance, the material of track & field sprinting plate must be rigid to ensure the perfect power transition from runners body on the ground. And still, it must be flexible and withstand highest forces during a sprint competition without breaking. Here the tensile stress test is used. It tells you the maximum stress that your footwear material can withstand while being strained and stretched before it breaks.
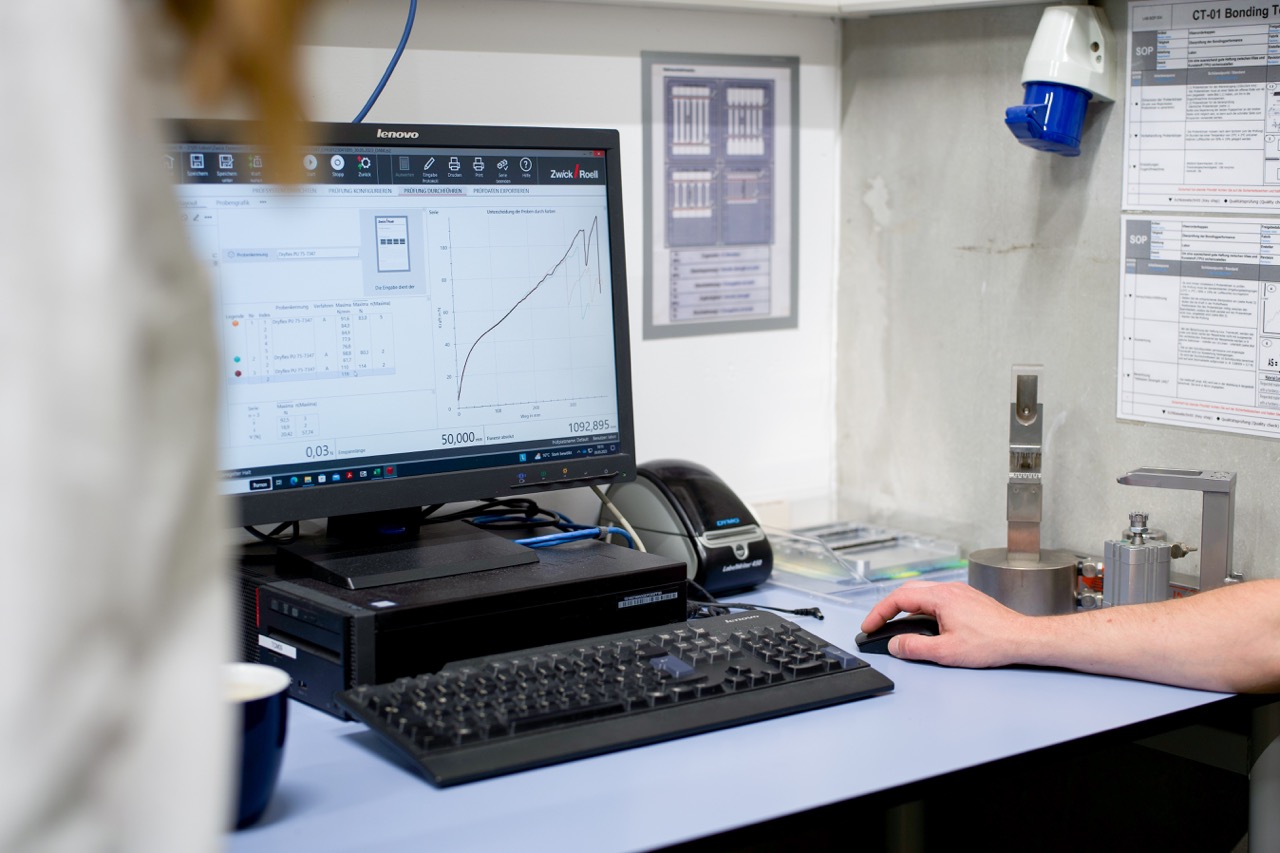
Setup and conditions: The tensile strength test uses the tensile testing machine, which simulates material stress versus strain. The machine records the stress versus strain over time on the test specimen material whilst the distance increases.
To start the test, the tensile machine is set to the required test position and velocity (predefined depending on brand and footwear category specific requirements). Then, the specimen is clamped, and the load of the machine is set to zero. Finally, the machine is run at the required speed until the material breaks.
What is measured: The tensile strength test records two important values: Elongation at break [%] and the Tensile strength [Mpa]. The (ultimate) tensile strength is shown in the unit MegaPascal [Mpa], which is a basic unit of pressure or tension. The MegaPascal value shown in the test is the force needed to break the material entirely.
The elongation at break shows how much distance a material can be stretched compared to its original shape before it breaks in percentage. To measure the value, the final length of the materials is compared to its original length. The value is a measurement showing the amount a material will elastically or plastically deform up to fracture. Polymers used in footwear applications belong usually to more ductile materials.
Interpretation of test result: A higher percent elongation usually indicates a better-quality material when combined with good tensile strength. Of course, for evaluation, there exist reference values (benchmarks) depending on brand, footwear categories, and specific footwear component a material must fulfil.
A typical requirement for footwear outsoles is a minimum tensile strength of 12 Mpa and a minimum elongation at break of 400%.
Tested materials and components: Can be used for all materials, components, and complete uppers.
4. Stud tip pulling
Purpose: The stud tip pulling test is used on soles with studs (cleated shoes) such as football shoes. Studs should never bend, break, or drop off football plates, so this must be tested before production.
Setup and conditions: To test, a tensile strength machine with specialized stud tip pulling installation is used. The machine pulls the studs plates until the stud breaks. The test is repeated with every single stud of a football plate.
What is measured: For this test, two parameters are decisive
- the location of break
- the maximum force in N
Interpretation of test result: Depending on the location of the breaking points, there are different conclusions for the quality of the stud stability. The first parameter to look at, is the location of break. There are three different cases of how the bonding could break:
Case 1: The stud breaks exactly in between stud and outsole plate material. It is considered as a natural break and approves the stability of the stud and outsole plate.
Case 2: The stud cuts-off only on the stud material. In that case the bonding strength of the outsole plate and the stud material exceeds the basic strength of the stud itself. Here further assessment of the maximum force (in Newton) would be necessary.
Case 3: The cut-off is located on the outsole plate material. In that case the bonding strength of the outsole plate and the stud material exceed the basic strength of the outsole plate. Here further assessment of the maximum force (in Newton) would be necessary.
The best possible location of break would be case 2. It is already a first indicator, that the bonding of plates and studs is more stable than the tensile strength of the softest element of the shoe. If case 1 or 3 occurs, the maximum force shown on the tensile strength machine must exceed brand and category requirements.
Tested materials and components: Running plates with plastic spikes, cleats with studs of the footwear categories Football, American Football, Baseball and Rugby. Metal cleats are not possible.
5. Rebound / Resilience
Purpose: It is not uncommon for the rebound capability of a shoe to play a major role in marketing strategy brands have for their newest footwear release. Therefore, footwear developers often keep a close eye on the rebound / resilience tests to make sure, the brands marketing can hold what they are promising: The material is bouncing or is contrary shock absorbing. The test can tell you exactly that about your material.
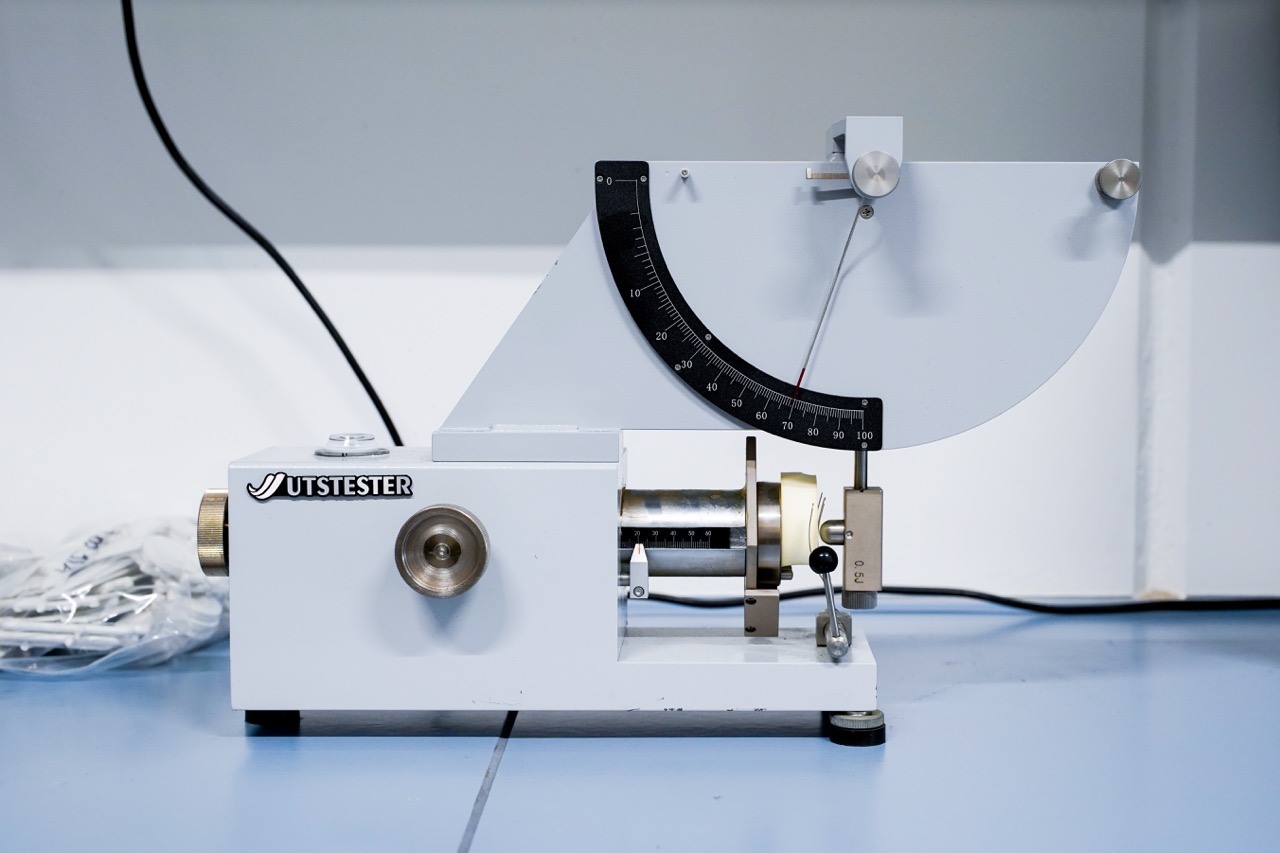
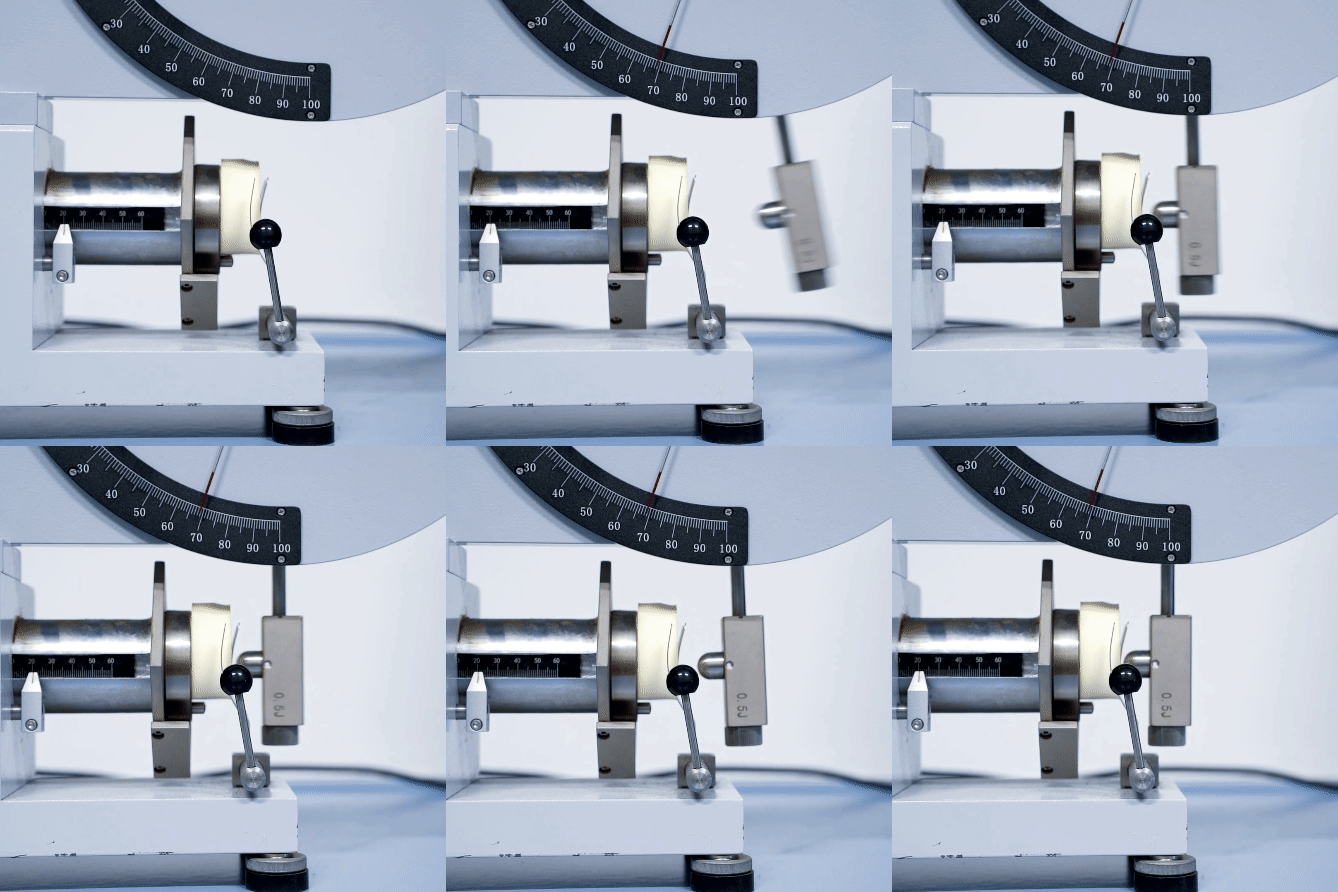
Setup and conditions: The test specimen should have a diameter of 29-53mm and a thickness of around 11mm. This is then placed in the clamping device. The hammer should be placed in a 90-degree vertical direction to the test specimen and finely touching it. The pendulum is dropped onto the same part of the test specimen 3 times from a horizontal position to mechanically condition the test specimen. The pendulum is dropped another 3 times and the elasticity is read from the scale. The average of the last 3 readings is the result which is then reported.
What is measured: The test shows how much percentage of the impact shock rebound from the material (and how much percentage of the impact shock a being absorbed by the material).
Interpretation of test result: Depends on the footwear category and component and specific brand requirements. You can say, that a midsole should have a value higher than 60%.
Tested materials and components: The rebound / resilience test can be applied to all rubbers, elastomers and midsole and sock liner foam materials. Outsoles do not require the rebound test.
Purpose: The hardness or shore of a component is mostly important for the manufacturability of a shoe. It also gives footwear designers and developers an indication of how flexible the material can be for the desired application. To get a clue or doublecheck a raw material suppliers hardness declaration, the hardness/shore measurement test will help to determine precise hardness/shore values.
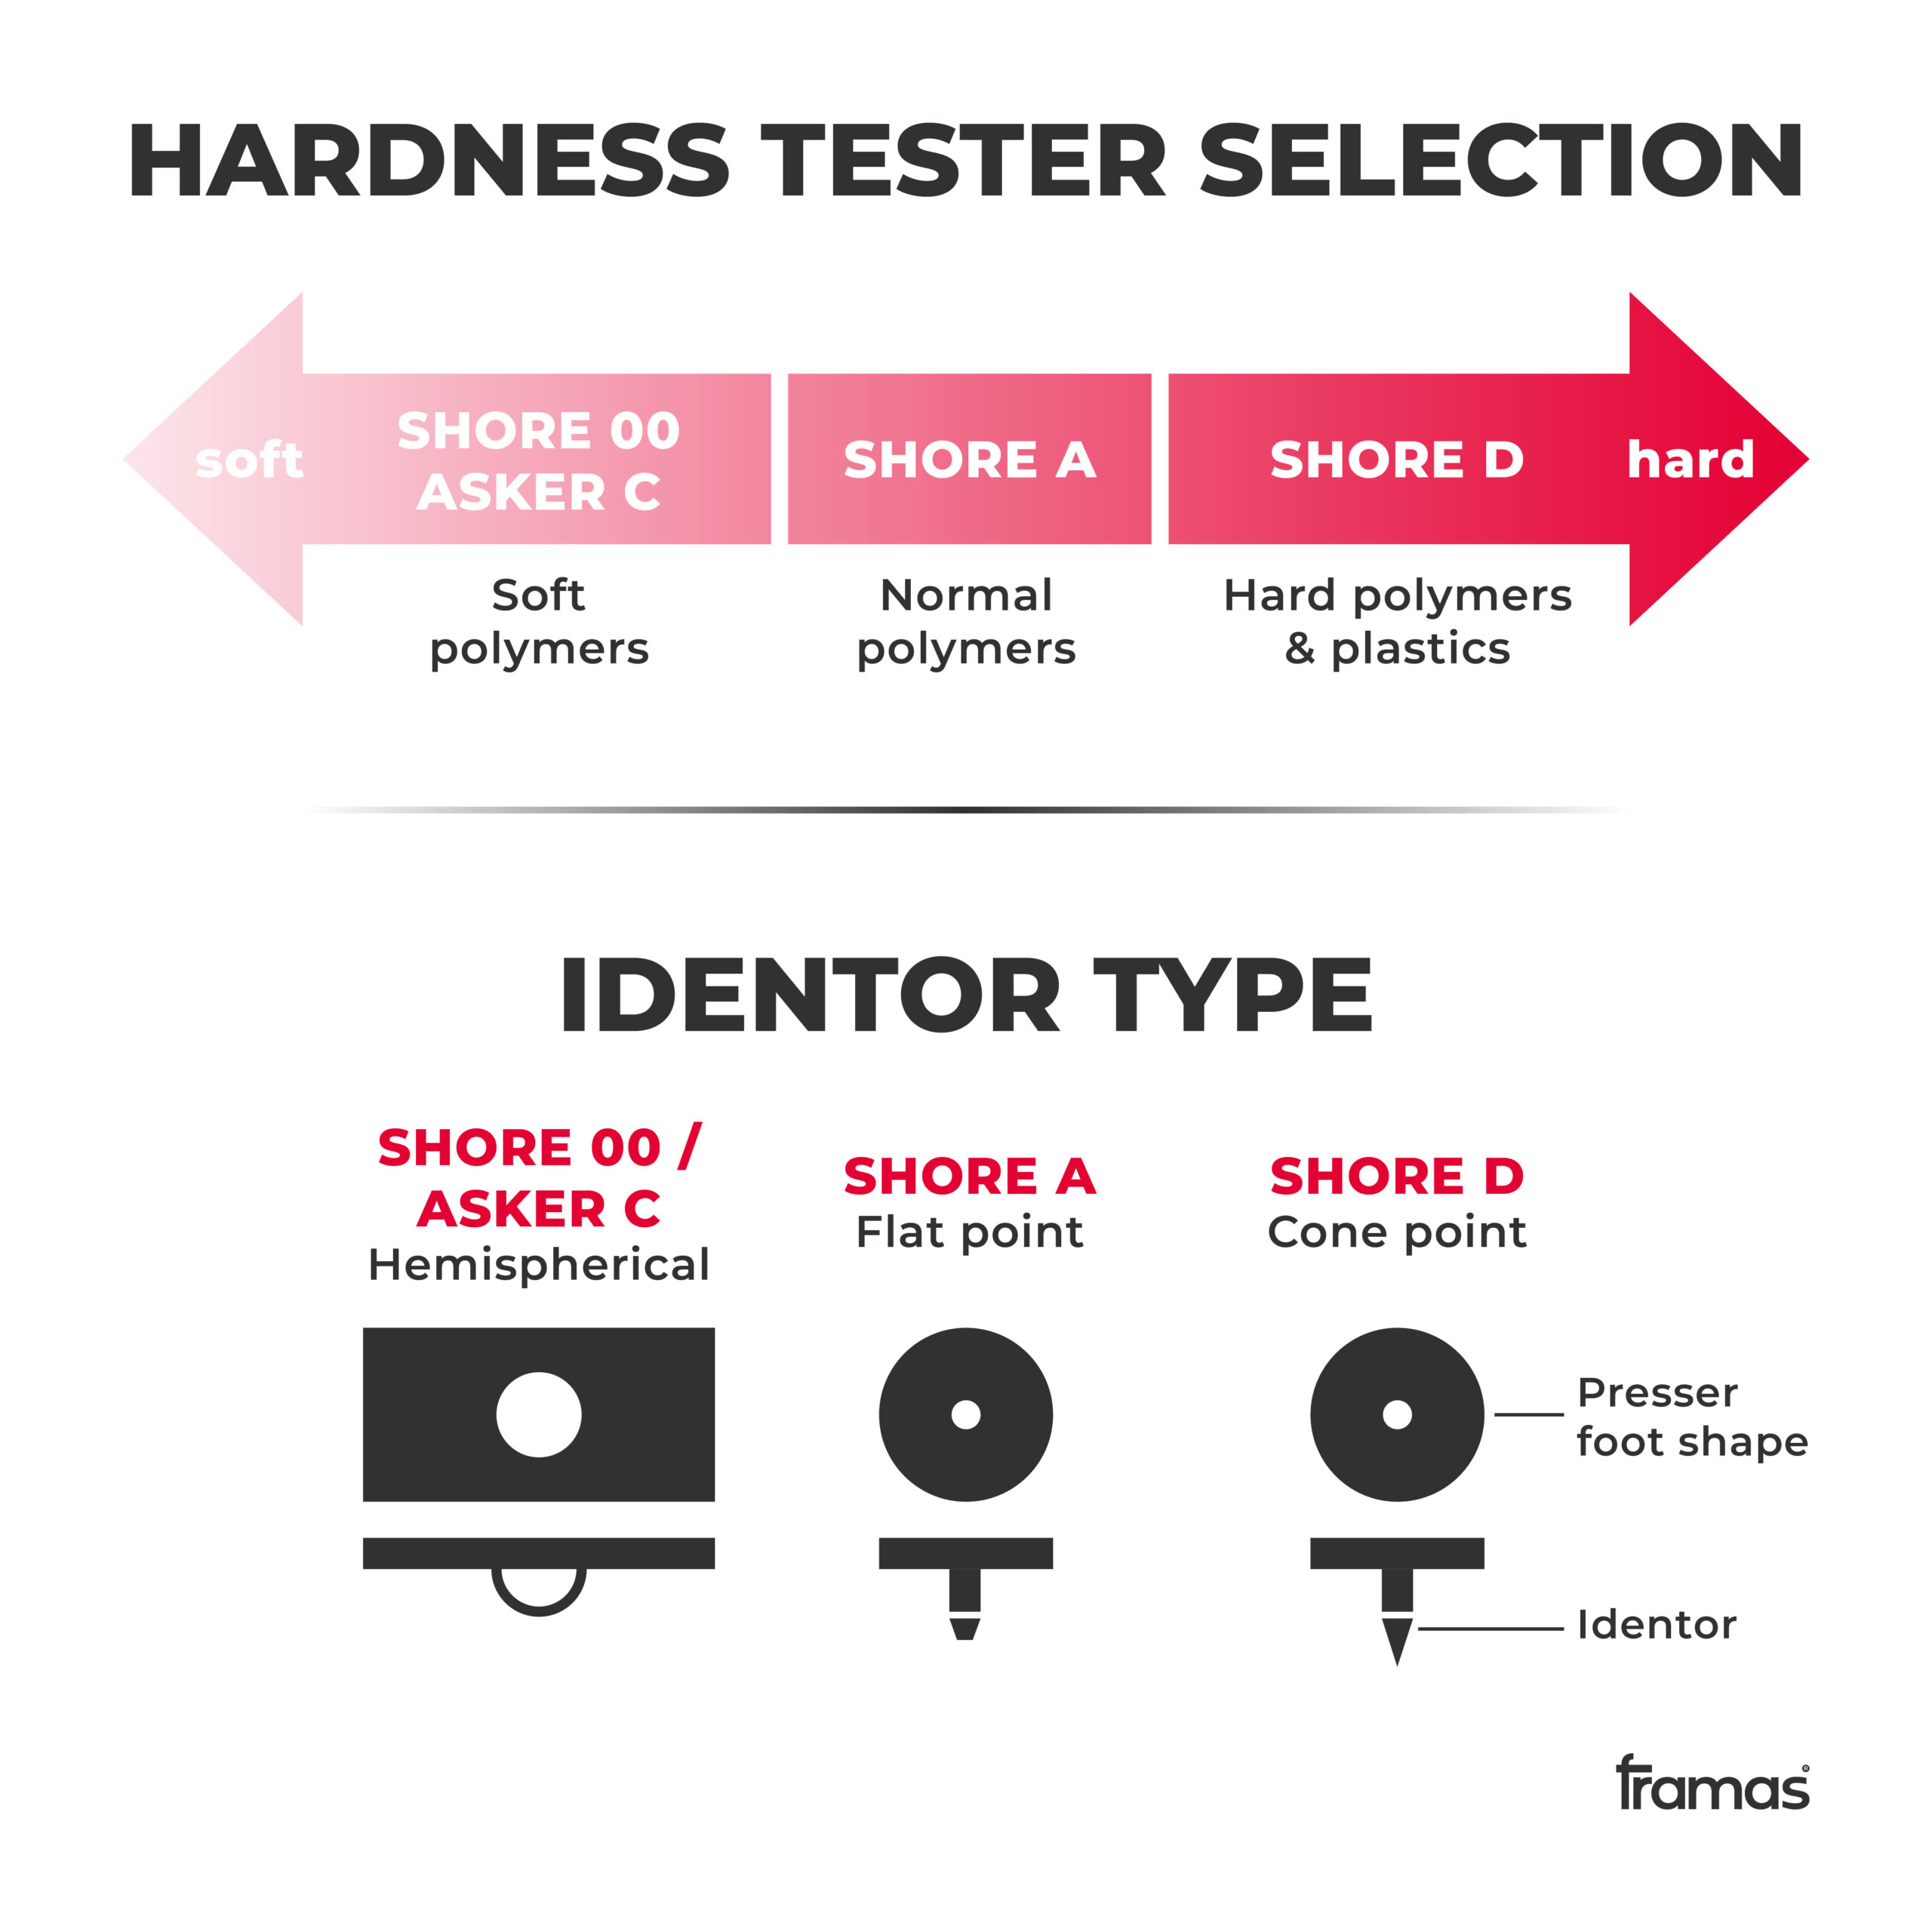
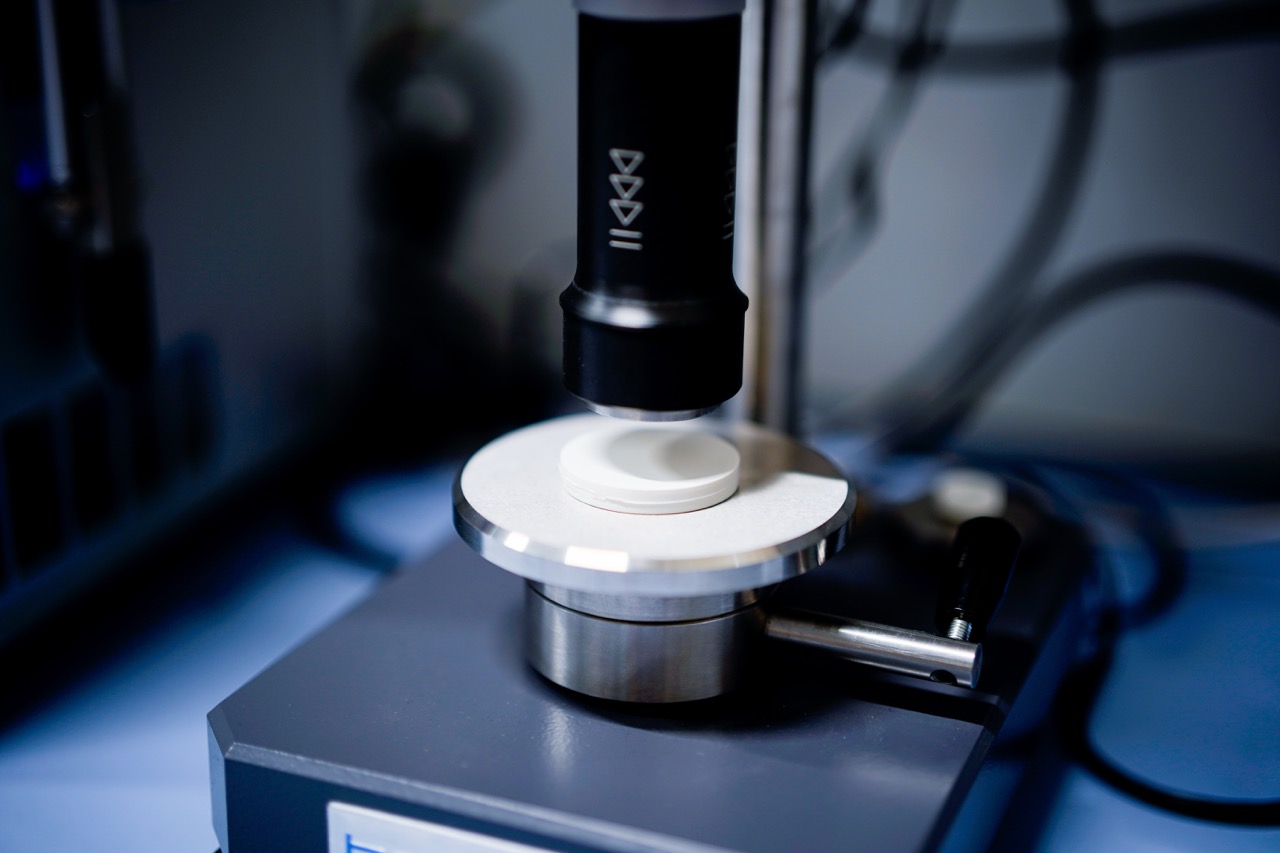
Setup and conditions: A durometer shore and a durometer asker are used. The hardness/shore measurement test determines the resistance of a footwear material against the penetration of a body, of a specified shape, under a specified loading. This test has 3 main conditions. For hard materials, shore D, the machine uses a needle. For foam materials such as midsoles, a machine with a ball tip is used. A softer material, shore A, undergoes a machine with a flat needle tip.
First, the test needs to be done at 23 degrees with a relative humidity of 50%. Further, all materials need to be conditioned for 24 hours before testing and this should be mentioned in the test report. Lastly, the storage room must be air conditioned, and the specimens should be stored on trollies. The general steps for the test procedure starts by placing the durometer on the adaptor plate and fixing it with the set screw. Switch the machine on and wait until you hear an acoustic signal to start the measurement. Press the specimen slowly against the durometer tip until the yellow light appears and keep the pressure constant until the light turns green. The hardness is then displayed on the machine and evaluated with a given hardness range given by the brand.
What is measured: The Shore 00 Hardness Scale measures rubbers and gels that are very soft. Asker C measures soft rubber, sponges, and foams. The Shore A Hardness Scale measures the hardness of flexible mold rubbers and polymers that range in hardness from very soft and flexible, to medium and somewhat flexible, to hard with almost no flexibility at all. Semi-rigid polymers can also be measured on the high end of the Shore A Scale. The Shore D Hardness Scale measures the hardness of hard rubbers, semi-rigid polymers and hard polymers.
Interpretation of test result: The interpretation of the results strongly depends on the desired footwear application. A running outsole has typically a hardness of 60–80 shore A. Modern running midsoles have typically a shore of 35-55 Asker C.
Tested materials and components: All polymers and components can be tested.
7. E-modulus / 3-point bending
Purpose: In a shoe, the forefoot is where the maximum bending stress takes place so it is important to know how much bending it can endure. The purpose is to assess the resistance of a material to tearing and tear growth under a dynamic fatigue bending load. This is for example useful for heel counter materials to make sure it does not break when people slip into their shoes but the test is done most often on soles.
Setup and conditions: The machine used is the tensile testing machine, plus a specialized bending fixture with movable supports and a caliper for measuring accurately. The material specimen (outsole) is placed onto two supporting points so that the stamp (placed in the upper clamp of the outsole) is in the middle of the bending area. The test is normally conducted under 23 celsius (Room temperature) or -20 celsius and 50% humidity. When everything is set, the tensile machine is run in a downwards direction at brand required velocity until the material breaks or a loss in force can be seen on the diagram on the computer.
What is measured: The test measures the bending stress (BS) in “Newtons per square millimeter” N/mm². It is also known as the flexural E-modulus (modulus of elastic) in MPa (N/mm² is equal to MPa) which is the ratio of stress to strain during flexural deformation.
Interpretation of test result: A lower BS indicates that the material bends easily and is stretchy. Opposed, a high BS refers to a stiffer material with low bending possibilities. The higher the resisted bending stress, the better.
Tested materials and components: The flexing / fatigue bending test is used for all bendable materials not harder than shore A 98.
Purpose: The 3-point-bending test determines the maximum bending stress a footwear component can withstand and the tendency for a footwear component material to resist bending. In the footwear industry, it is often used to determine the bending functionality of especially fiber reinforced materials. For instance, Soccer or running outsoles need to have a certain bending flexibility whilst being exposed to highest exposed forces. Thus, the test can figure out footwear bending properties already at development stage.
Setup and conditions: The machine used is the Ross Flexing device. The first step is to bend the sole until squared edges are formed then draw a line cross the sole where the bends are. The sole is then put into the machine and the part with the bends gets flexed 250 000 times at 23 and -10 celsius to mimic the usage of the shoe. The deformation angle is 60 celsius.
What is measured: The amount of bend cycles a material can endure before breaking.
Interpretation of test result: If the sole did not break after 250,000 bend cycles, then it’s a success. The specimen is checked upon every 10-15 minutes to make sure it did not break in between.
Tested materials and components: The test is conducted on all fiber reinforced and composite materials, particularly on footwear categories with cleated outsoles.

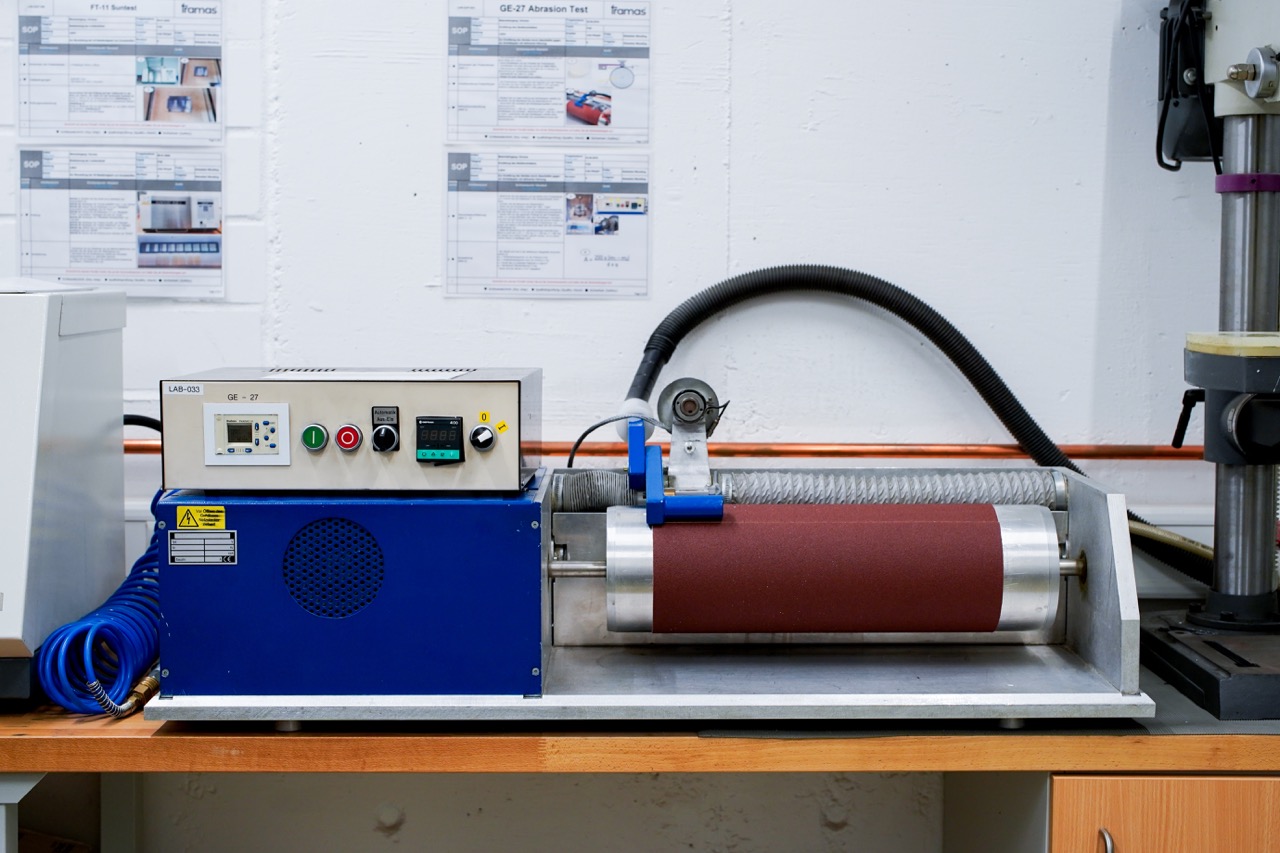
Purpose: The purpose is the measurement of the volume loss of the tested piece to see how good its durability is. The better abrasion resistance is the more miles a runner can run with his shoe. The higher the abrasion resistance the less material we need for manufacturing of an e.g. outsole.
Setup and conditions: The abrasion tests simulate 40-meter of intensive labor on a rough surface. The used machine is the DIN abrasion tester. This test uses sandpaper with a defined grade which is rubbed onto a sample body to mimic the sole of the shoe rubbing onto a surface when it is being used. To prepare, the materials must be conditioned at least 16 hours before testing in standard room conditions (23 degrees and a humidity of 50%). The test specimen should also have a diameter of 16mm and a thickness of 6mm. The specimen is weighted before testing and the density is measured as well. The test is conducted with 3 test specimens.
What is measured: The test is conducted, and the specimen is weighed again to see the effect of the abrasion. To evaluate the results, the loss in mass (average of the two values from before and after the test) is converted into volume loss from the density of the material concerned.
Interpretation of test result: For the abrasion test, the lower the abrasion the better. A soft material is permitted to have less abrasion resistance than a harder material.
Tested materials and components: Materials used for this test are all types of rubber and plastic outsole materials.

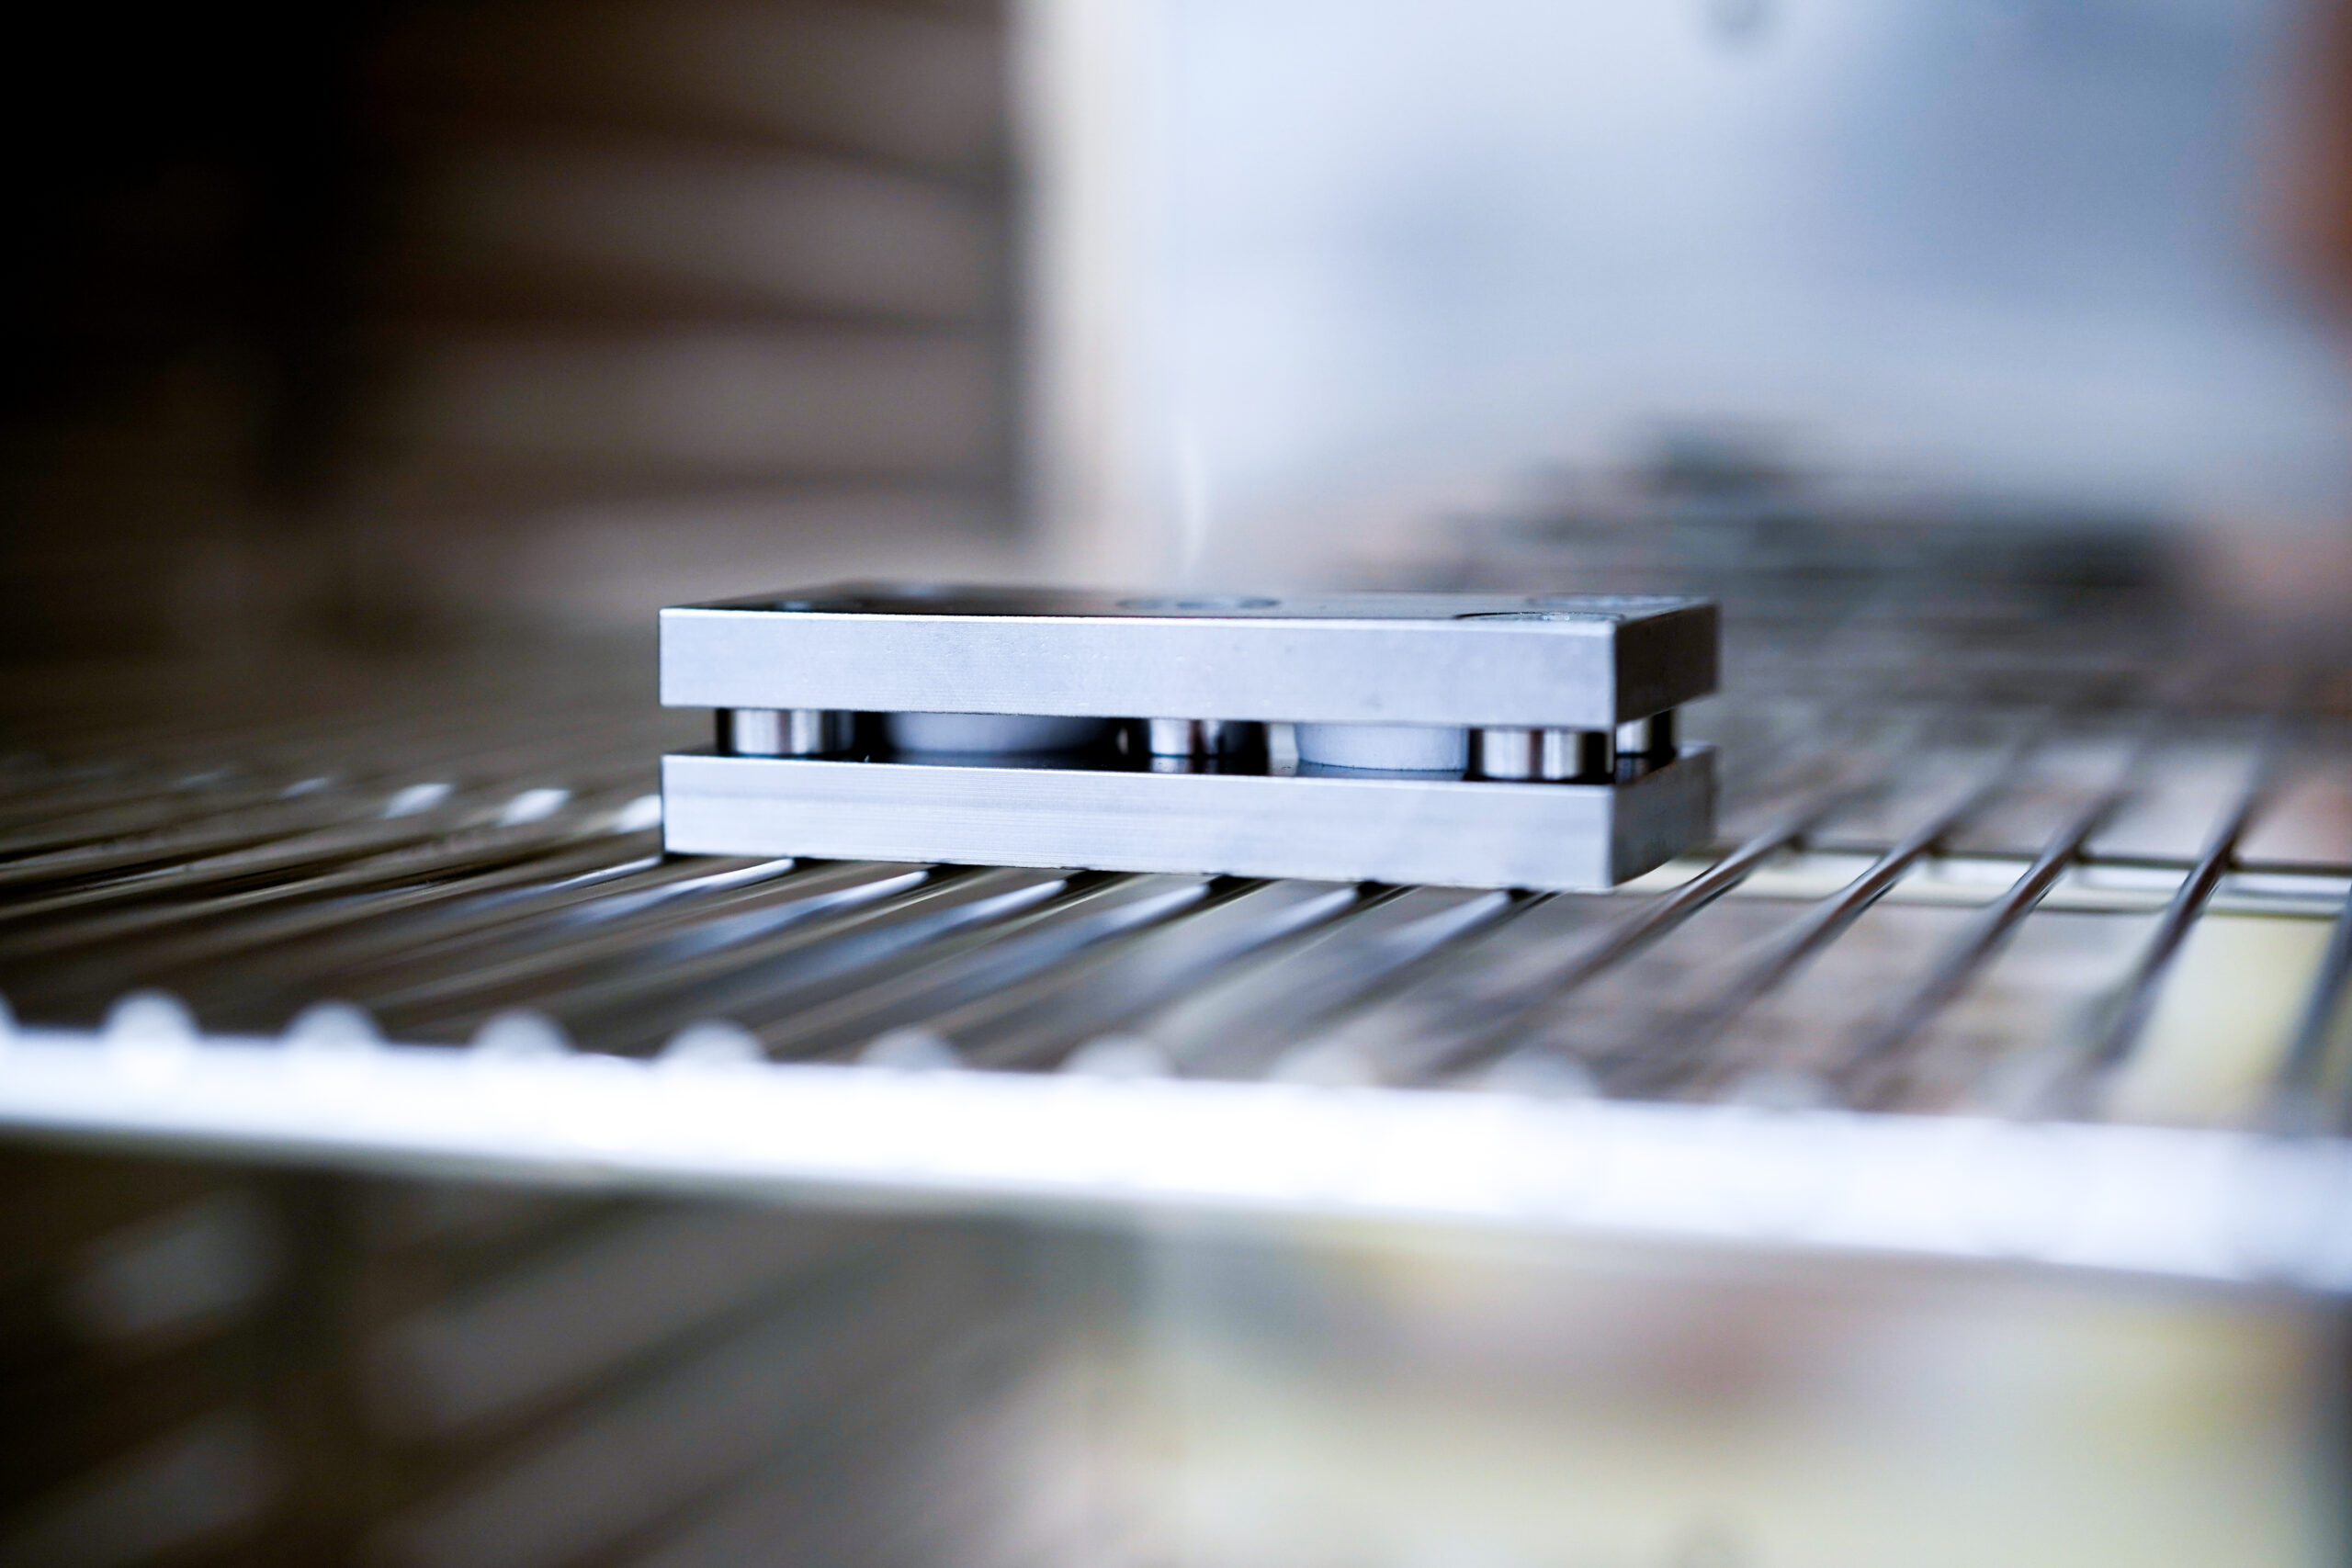
Purpose: Footwear foam midsoles are exposed to constant compression while walking, running, jumping, or standing. The compression could harm the function and the design of footwear over time. To ensure a high durability of the midsole foam, the compression set of a foam is determined during development processes. The test determines the ability of a midsole foam to return to its original thickness after being compressed/deflected at certain temperature and duration.
Setup and conditions: To prepare the test, round test specimens are cut out from different areas of the desired midsole material. The measurement equipment are basically two metal plates, a caliper, some screws, and a spacer which size depends on the specimen thickness.
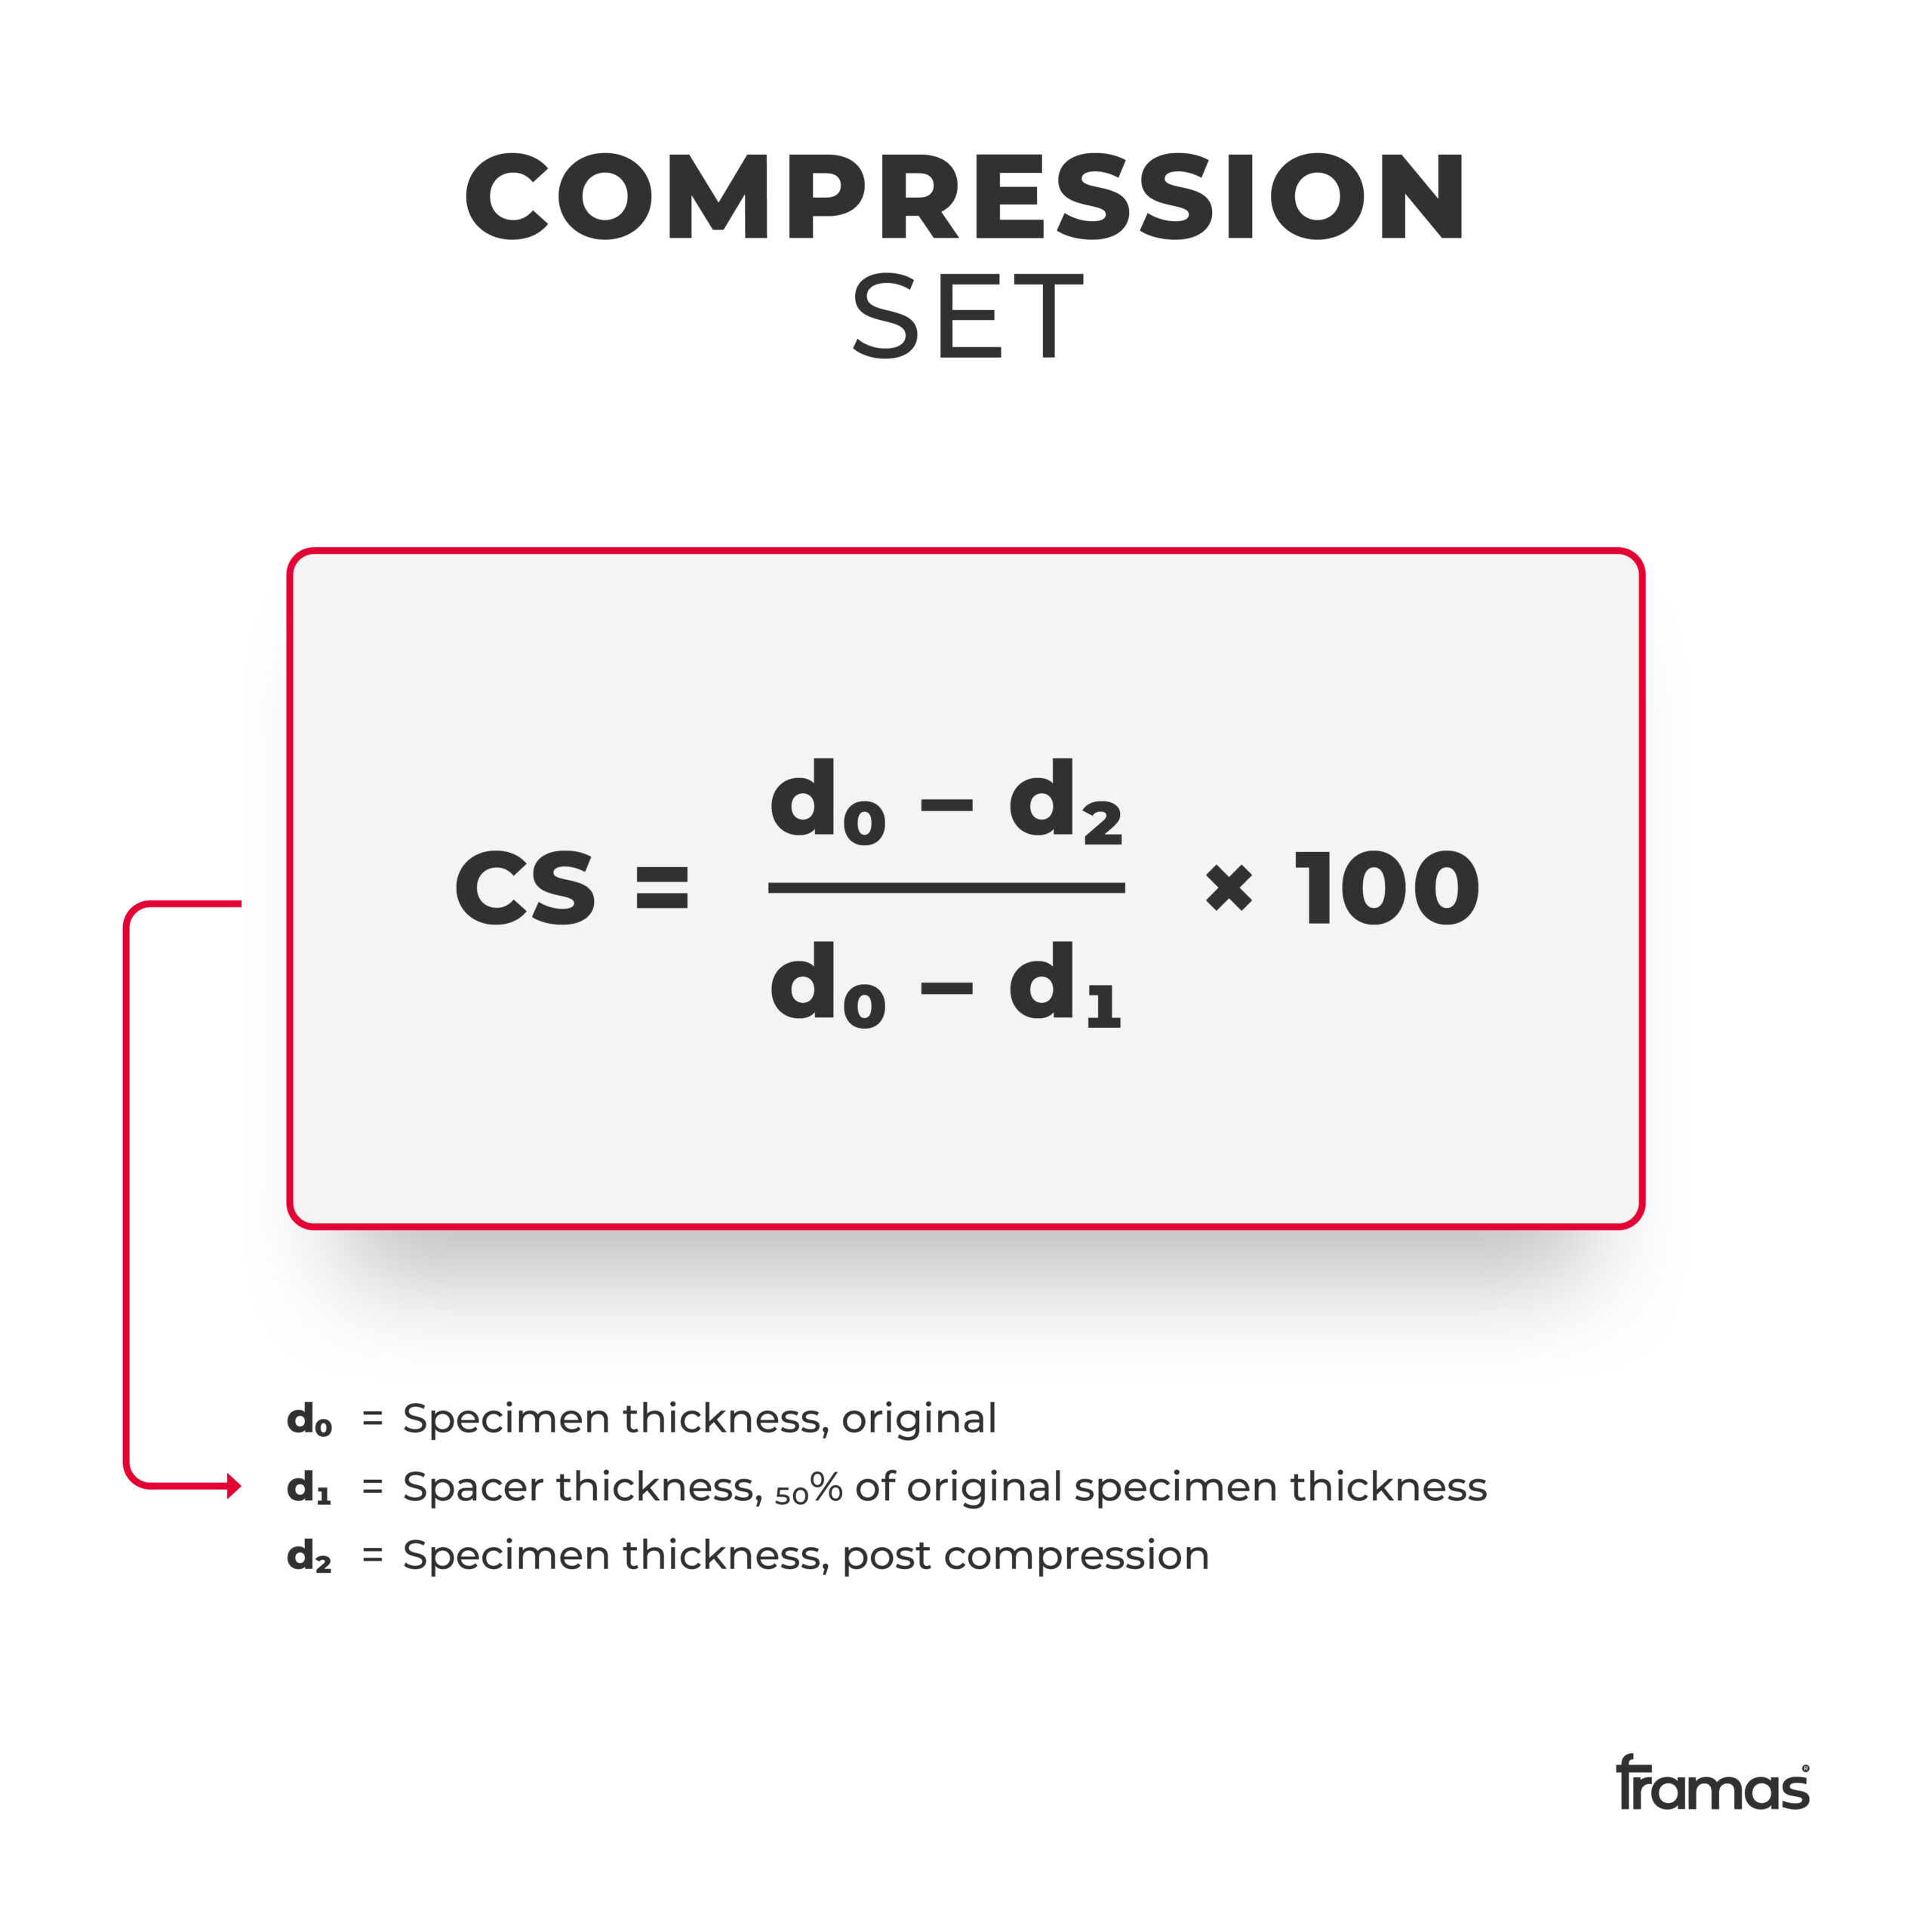
What is measured: First, the original thickness of the test specimen with a caliper [d (0)] is measured. Secondly, the specimen is placed between two metal plates and then screwed down to 50% thickness of the test specimen [d (1)]. The entire test apparatus remains 6 hours at 50°C in an air circulating oven. After the required time the test specimen is removed and cooled down for 30 minutes at room temperature (23°C ± 2°C) on poor thermally conducting surface, such as wood. After the resting time, the thickness of the test specimen is tested one last time [d (2)].
Interpretation of test result: To evaluate, the Compression Set (CS) is calculated. It gives the CS figure as a percentage. A low CS percentage indicates a longer durability in both function and design intent of the midsole foam. It can withstand long lasting compression at high temperatures without loosing its ability to return to its original shape.
Tested materials and components: All kinds of midsole materials
Purpose: The slip safety test is mainly done for safety shoes to make sure they follow the EN ISO 20345 standards (to read more about safety shoes, check out our other blog post). But also for other footwear categories it can be reasonable to conduct this test, if you want to ensure the outsoles of the shoe function even on slippery floor.
Setup and conditions: To prepare the test, three parameters need to be set. The first parameter is the tested floor. Do you want to test your outsoles on steel or ceramic tile ground surfaces? If you have decided for the first parameter, you can select the lubricant to mimic the slippery floor as a second parameter. It can be chosen between sodium lauryl sulfate, glycerin, or water. Sodium lauryl sulfate and water are suitable for surfaces like ceramic tile. Glycerin would be suitable for steel surfaces. The last parameter to set is the normal force of the testing machine which depends usually on the shoe size. For shoes size 40 (UK 7) and larger, the normal force should 500 ± 25 Newton. For shoe sizes below 40, the normal force is 400 ± 20 Newton. Other normal forces can also be set, depending on the requirements of brand and footwear category.
To start the test, either an entire shoe (lasted or not lasted) or only a single outsole is attached to the machine and pressed onto the selected floor surface which is sprayed with the selected lubricant. The test can be carried out in one of the the following test methods:
- Forward sliding of the heel with the shoe placed at an angle: the shoe moves forward at a contact angle of 7°. The footwear to be tested is attached to the shoe last.
- Sliding backwards on the front sole: The shoe performs a backward movement at a contact angle of 7°. The footwear to be tested is attached with a shoe last.
- Smooth forward glide: The shoe or outsole moves forward while lying flat. The shoe is attached via a mechanical foot.
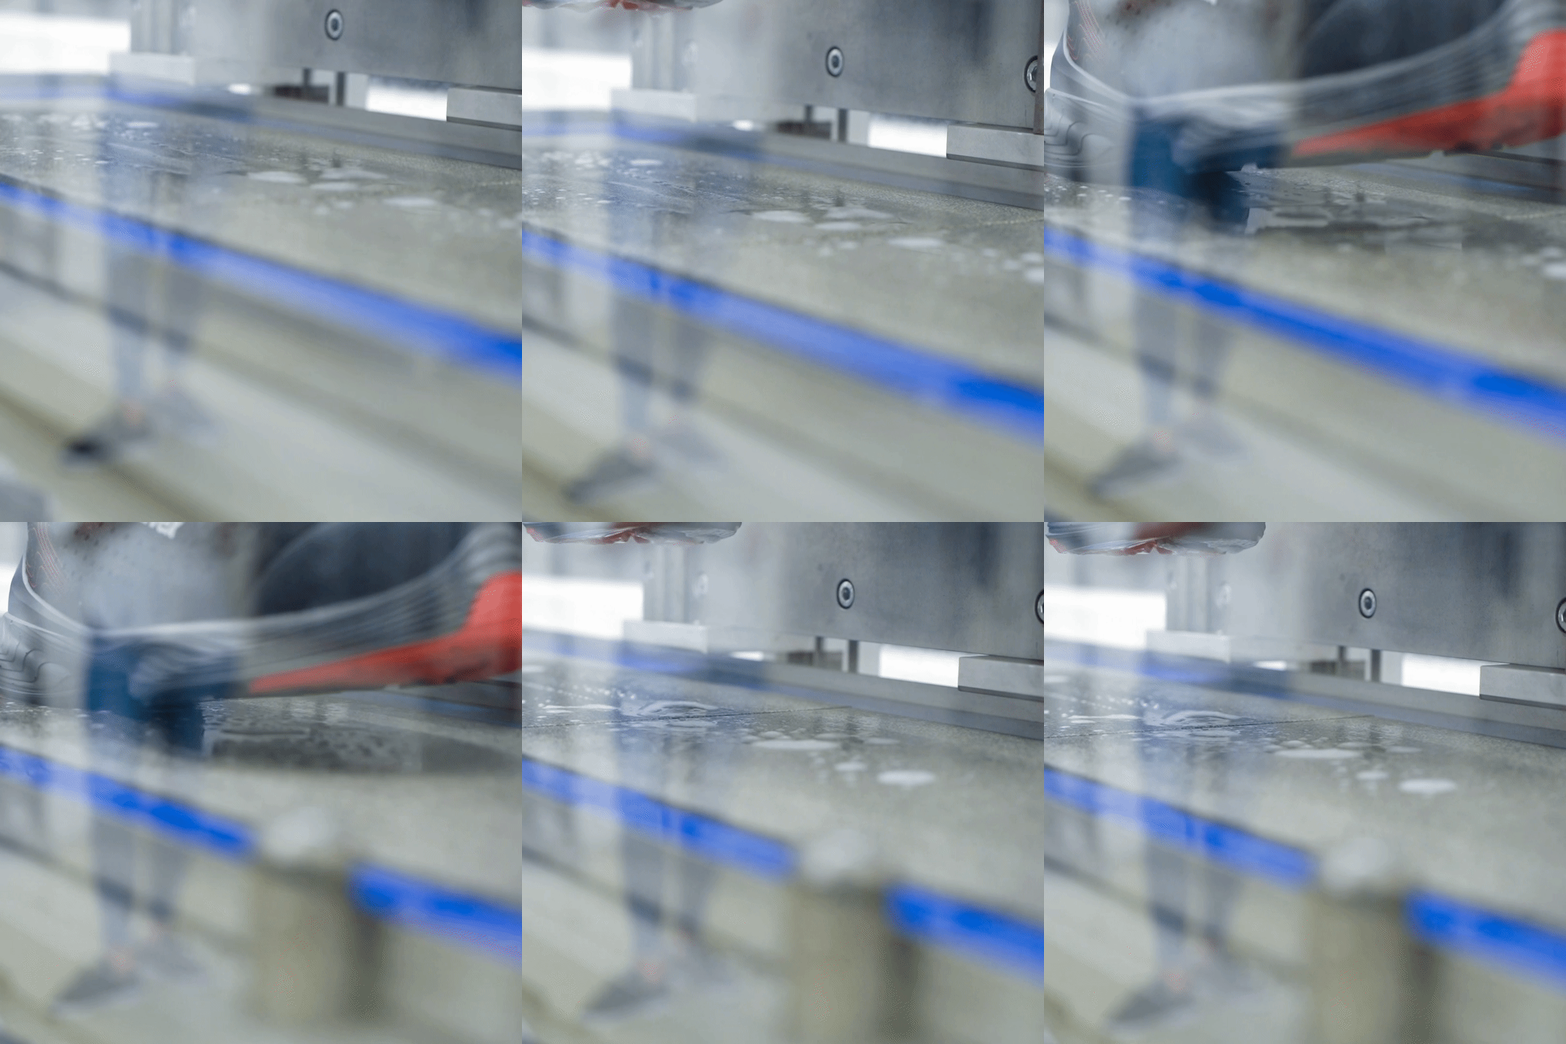
What is measured: This test finds out how much pressure is needed for the shoe to slip. The pressure is the so-called coefficient of friction. It is usually symbolized by the Greek letter mu (μ). The evaluation of the test is done through the average of the 5 measurements per test method.
Interpretation of test result: The higher the coefficient of friction, the more pressure is needed for the shoe to slip. The minimum required values for safety shoes to pass this test are 0.36 μ for the front sole method and and 0.31 μ for the heel method. Minimum values for other footwear categories are usually set by the brands individually.
Tested materials and components: All safety relevant footwear applications but also running shoes etc.
We hope you liked this insight into the world of material testing. Stay tuned as we will soon launch our second part, in which we will talk about physical, thermal and optical material testing methods.
If you liked this article, make sure to follow our Social Media channels. You can contact us anytime via LinkedIn, Instagram & Facebook. We are happy to receive any feedback and tell us what other topics are of interest to you. We will try to address them in the near future.
Thanks for checking out our blog!

Neueste Kommentare